A Realistic, Generic Earth/Atmosphere Model - CS348B Final Project
Author
Dick Brouwer
Final Image
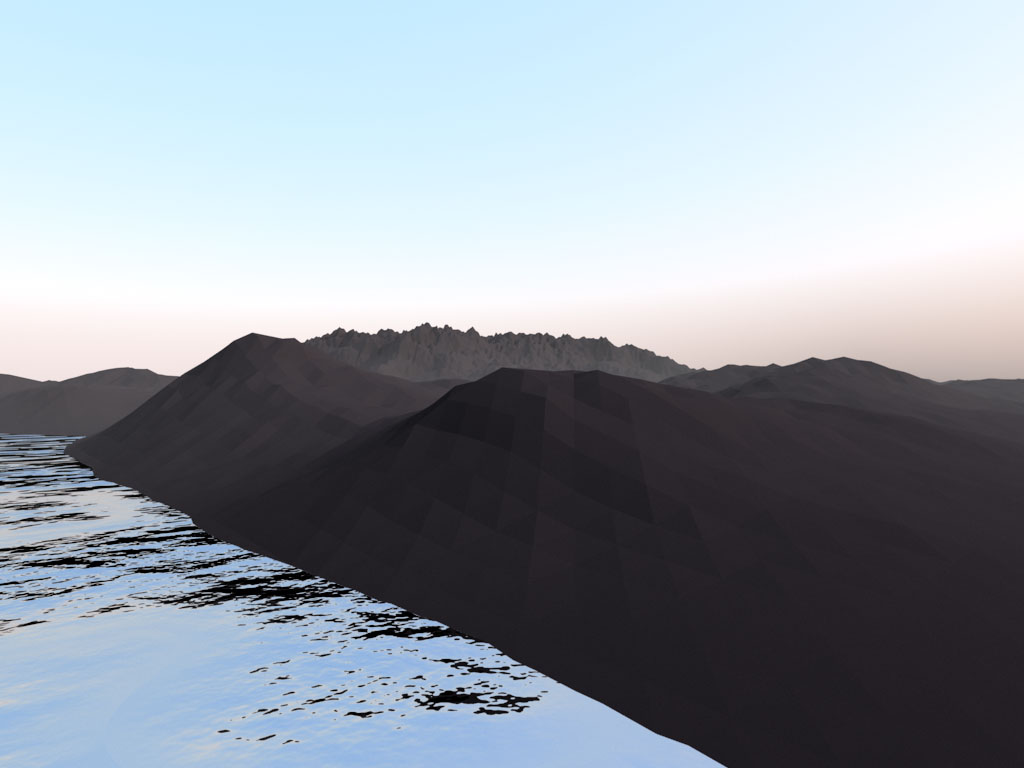
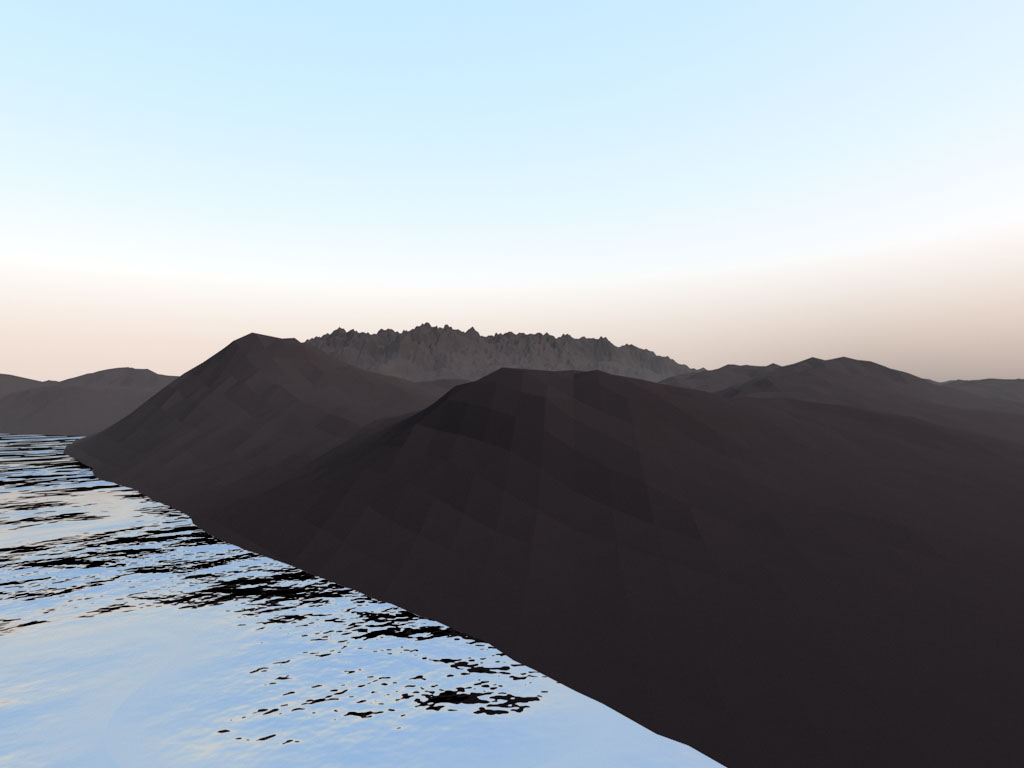
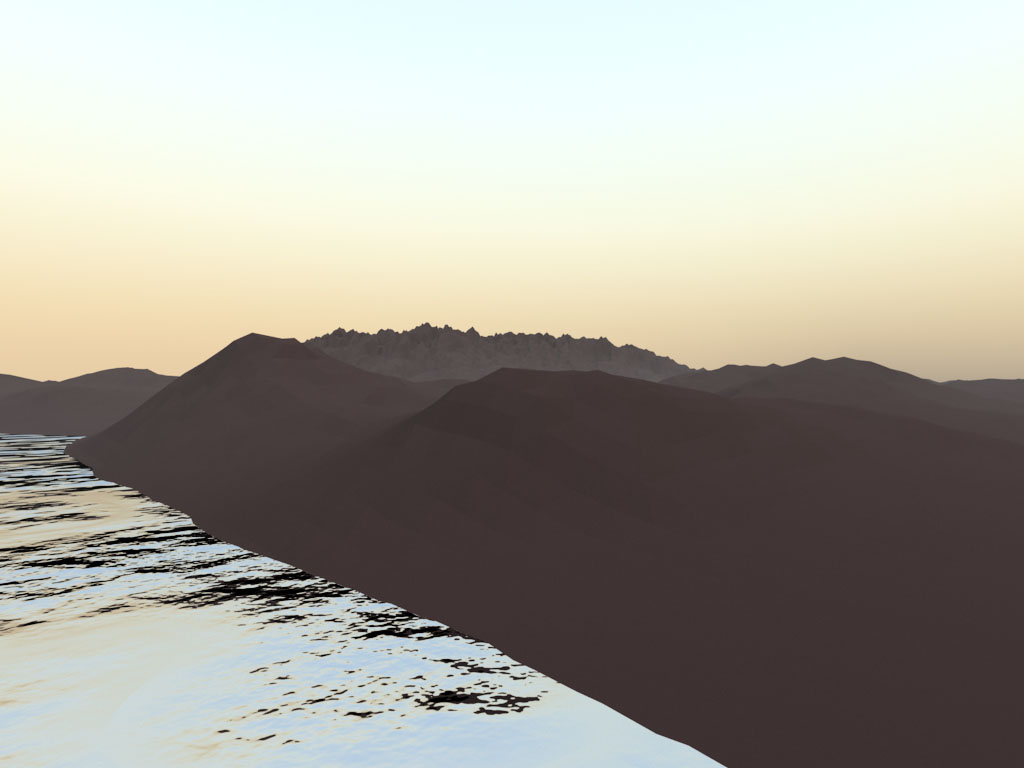
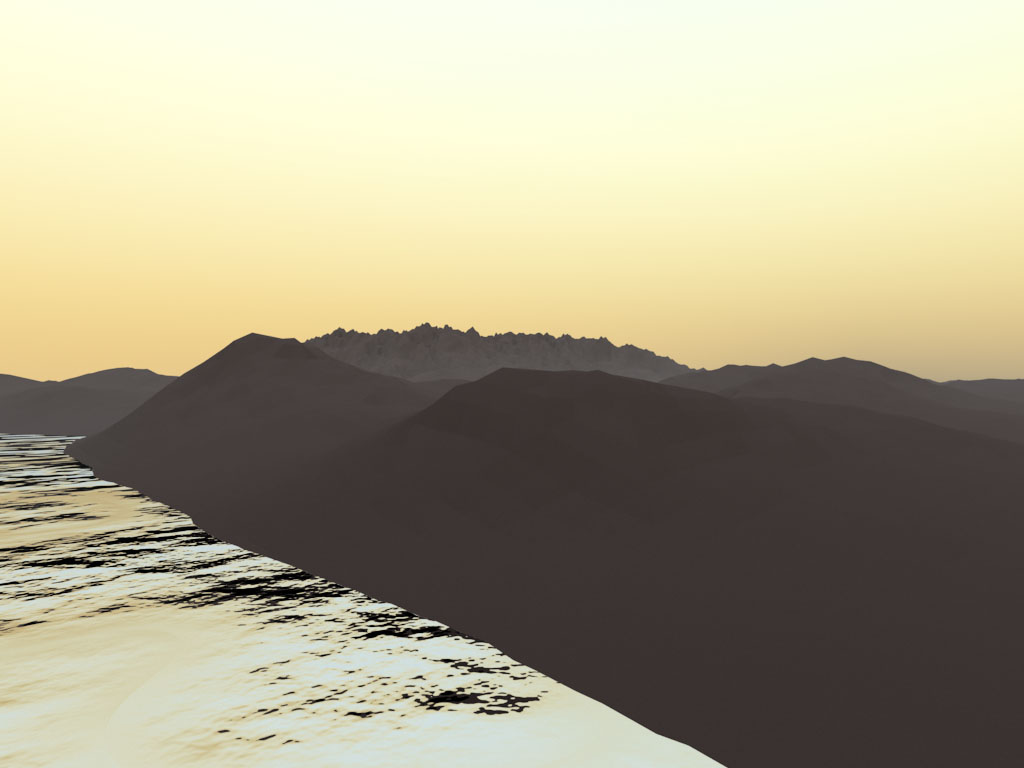
8.00am. Images with different sun positions can be found at the bottom of this write-up. 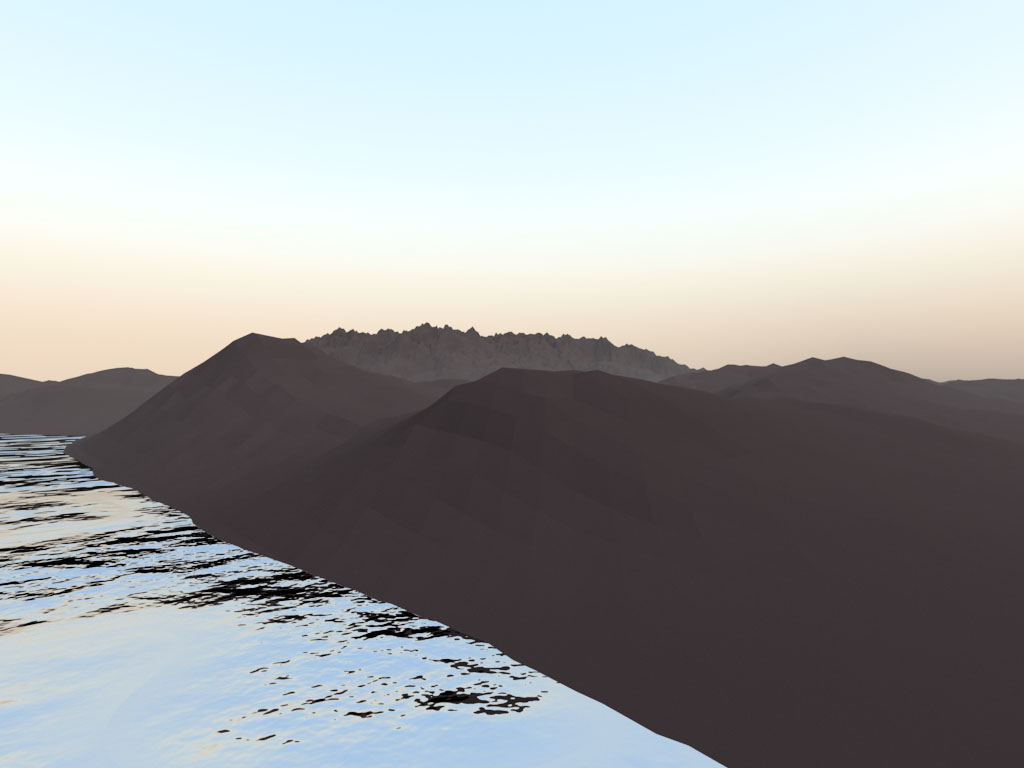
Overview
Rendering scenes, especially outdoors, generally involves using manually created environment maps to realistically render skylight. Especially for twilight scenes with very diverse lightning conditions no suitable tools are readily available. I want to create a generic model for rendering a realistic sky for a given position on the earth, season, time of day and atmosphere condition (e.g. foggy, polluted etc.) to replace outdoors environment maps. My model should therefore not be too computational intensive.
To accurately render skylights many atmospheric effects have to be taken into account, including:
- Solar irradiance spectrum and its absorption in the ozone layer
- Wavelength-dependent refraction of direct sunlight in the atmosphere
- Climate-dependent composition and size distribution of aerosols / dust particles
- Height-dependent air, humidity, and aerosol density
- Rayleigh scattering (air molecules) and Mie scattering (aerosols)
- Radiative transfer (multiple scattering)
- Illumination of the atmosphere by the earth's surface (small, so neglected in my discussion)
Important papers related to these issues are: Physically Based Simulation of Twilight Phenomena, Realistic Solar Disc Rendering and A Practical Analytic Model for Daylight.
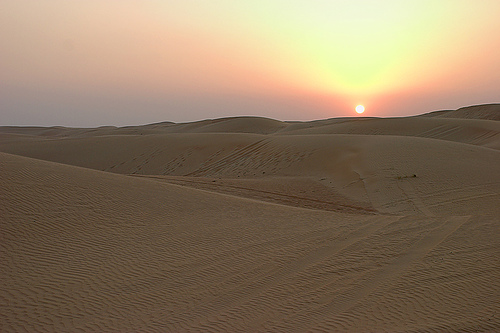
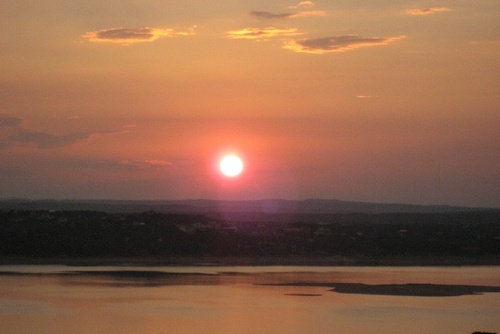
Example images of beautiful skylights are plentiful. Here are some examples of the images I would like to reproduce:

Techniques Used
1st Attempt: Divide the atmosphere in cells and layers
The most realistic way of rendering the sky is to divide the atmosphere into hundreds or thousands of different layers. Each layer is then split into different cells (see pictures). 
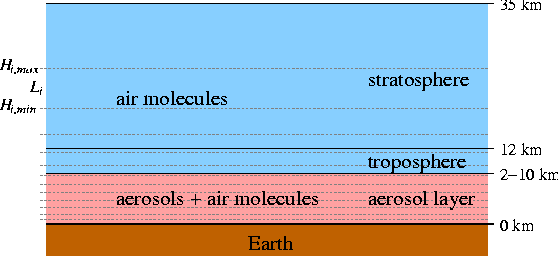 I started implementing this model but ran into some big issues:
- 1st Calculations took over 4 hours to render (small scenes). This was mainly due to multiple scattering from different cells. Potentials optimizations could be possible, but it is inherently a costly process.
- Required many rays to be send-out into the scene. Because of atmospheric refractions from each layer to the next, light rays with different wavelengths could have many different paths associated with them.
- Much atmospheric data is required per atmosphere layer. Temperature profile, scattering coefficients for different particle sizes (aerosols), air humidity etc. Although some of it is easily available from the web, this makes it harder to implement as a 'generic' model.
All three reasons make this model cumbersome and slow to implement and would not be a great tool as an environment map replacement.
2nd Attempt: Analytical approximations for skylight, sunlight and aerial perspective
I modeled the scene using three different techniques. A skylight (atmosphere) mimicked the colored background and provided illumination on the whole hemisphere on the scene. A directional sunlight was implemented to further illuminate the scene. Lastly, an implementation of aerial perspective rendered the blue-ish foggy effect that occurs when objects are far away and the sky is hazy.
Skylight
The literature mentioned above describes a parametric sky model that is developed by measuring different sky intensities and colors with different sun angles and atmospheric haze combinations. The resulting data is fitted to a model that is reasonably accurate in predicting the color of the sky. Esoteric sky conditions cannot be created but for 'standard' atmospheres this works well. Turbidity is a catch-all term to describe the amount of 'haze' in the sky - replacing detailed calculations for different scattering coefficients for particles in the sky (Rayleigh and Mie scattering). Although turbidity is a great simplification of the true nature of the atmosphere, it is a practical measure of great utility. Because it does not require complex instrumentation to estimate turbidity, it is particularly well-suited for this application. The figure below gives meteorological range Rm for various turbidity values. 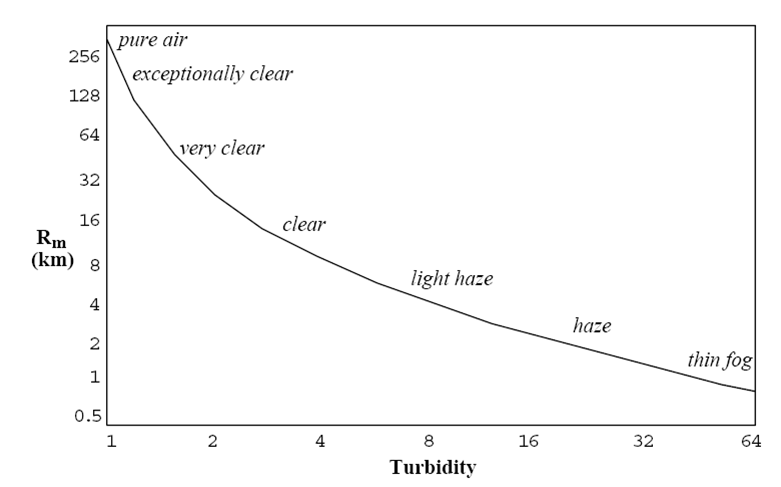 I implemented the skylight using a infinite area light in PBRT. I created a new spectrum model, colorspace conversion and tonemapping funtions to accurately render this area light. Both will be discussed later.
Sunlight
Sunlight is modeled using a direct lightsource in PBRT. The spectral radiance is looked-up in a table for different wavelengths. Next, the radiance is attenuated by different scattering and absorption parameters (both Rayleigh and Mie scattering are implemented). Both parameters are a function of wavelength (the sky is blue because amongst others the Rayleigh scattering function is proportional to 1/lambda4). 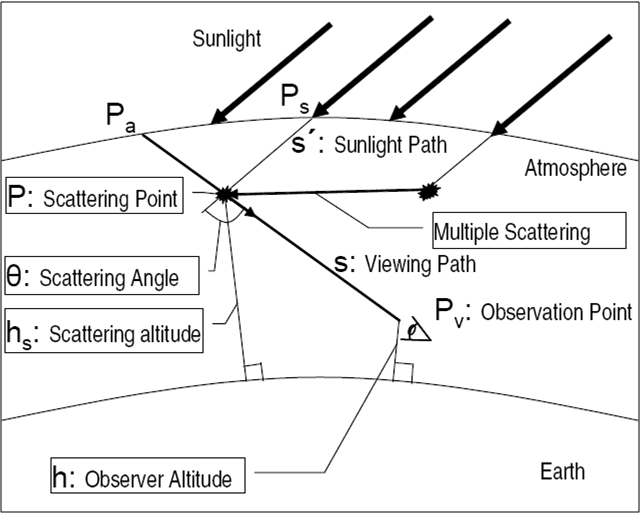
Aerial Perspective
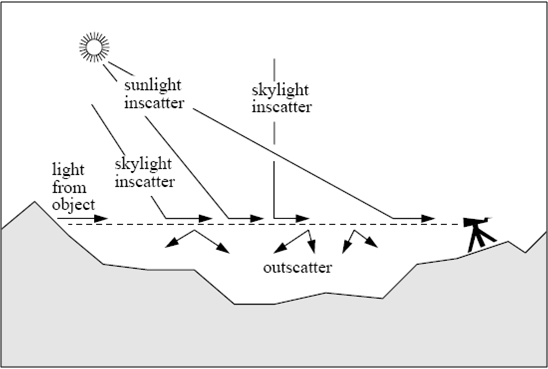 Aerial perspective is calculated by adding the in-scattered sunlight along a ray to the eye with the out-scattering in the atmosphere due to Rayleigh and Mie scattering. Both vary with wavelength (hence the blue-ish background fog present in scenery views). I implemented these methods by modifying the directlighting surfaceintegrator in PBRT (calculating the attenuation and adding a new spectrum class). I compared this model against PBRT's exponential fog model and they turned out to be very similar for the scenes I rendered.
Sun positioning model
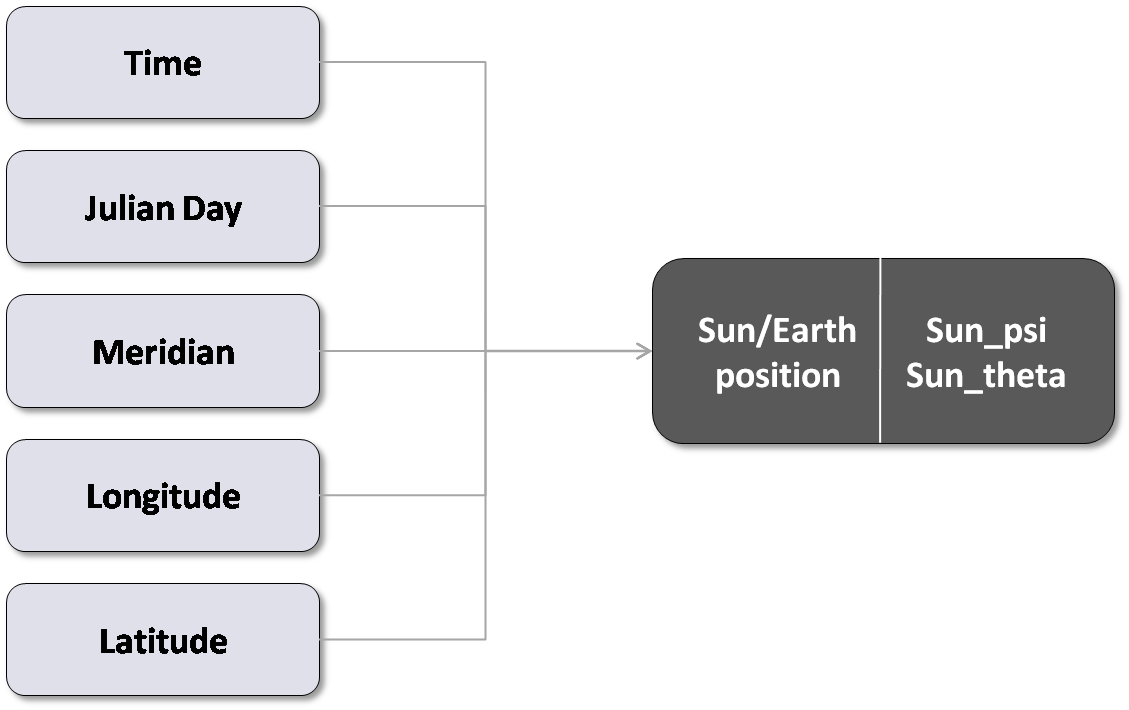
To make my model generic, I implemented method which calculates the position of the sun based on different inputs: time, longitude, latitude, julianday, meridian. This transformation results in a sun_theta and sun_psi (see pictures below). 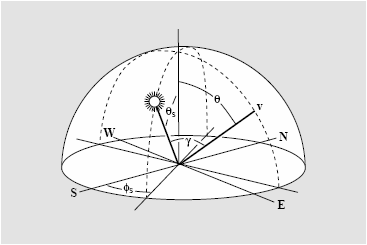
Spectrum model
Because atmospheric scattering is wavelength-dependent, I had to use more spectra that PBRT uses by default (3). I choose for a spectrum from 380nm to 780nm with 10nm increments, resulting in 41 spectrum samples. I did not want to change PBRT's default spectrum number to keep the flexibility of adding different lights later on without having to specify 41 spectra values. Instead I implemented a new spectrum class just used for the skylight, sunlight and aerial perspective in my model. The new spectrum model worked well and fast and rendered the wavelength-dependency correctly.
Issues encountered
The most problematic issue I encountered was tone-mapping. The output of the sky model was chromaticity (x and z) and luminance (Y). The brightness of the sun and sky caused my images initially to be completely over-saturated. I tried to do different luminance-scaling techniques combined with color-space conversions, of which some worked better than others:
Scaling Y from xyY output -> XYZ -> RGB (both exponentially and linearly)
RGB scaling: xyY -> XYZ -> RGB -> scale (both exponentially and linearly) -> RGB
HSV scaling: xyY -> XYZ -> HSV -> scale (exponentially) -> RGB
It turned out that HSV scaling was visually the most pleasing. However, it took me a lot of time to figure this out eventually. Unfortunately I did not compare these methods to PBRT's build-in tonemapping functions.
Final Images
I first test my sky model without any atmospheric attenuation: 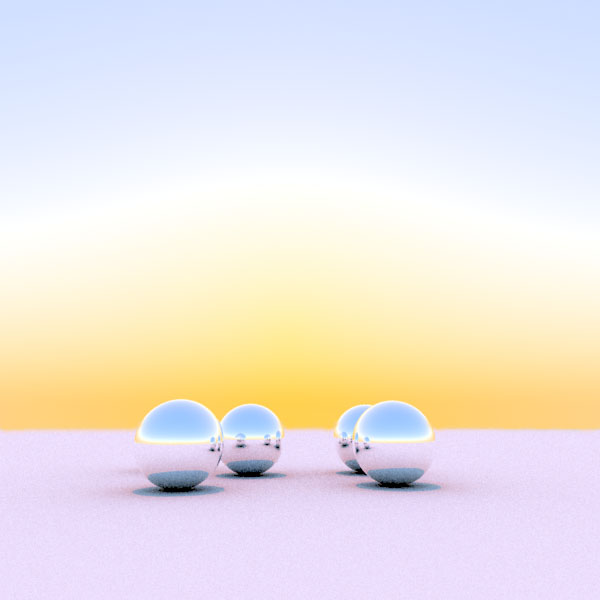
Additionally, I wanted to check if my sky was comparable to some of the sunset environment maps we used in class. Therefore I applied my model to the Audi-TT scene described in the book. The results are very similar, and my model is almost as fast as using an environment map. 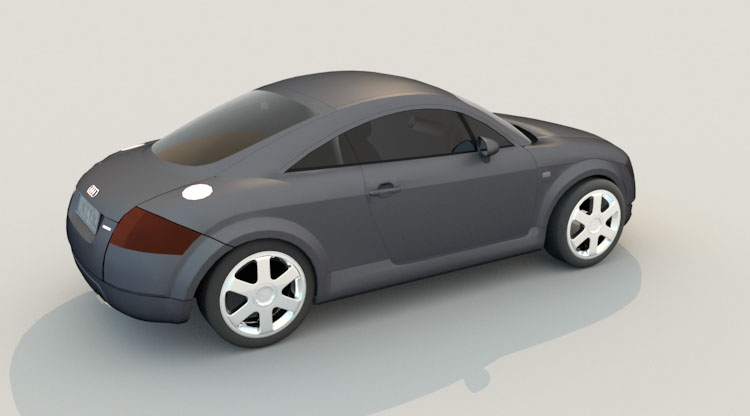
Finally, I rendered a series of images describing a sunset (each image rendered 1h later then the previous image): 