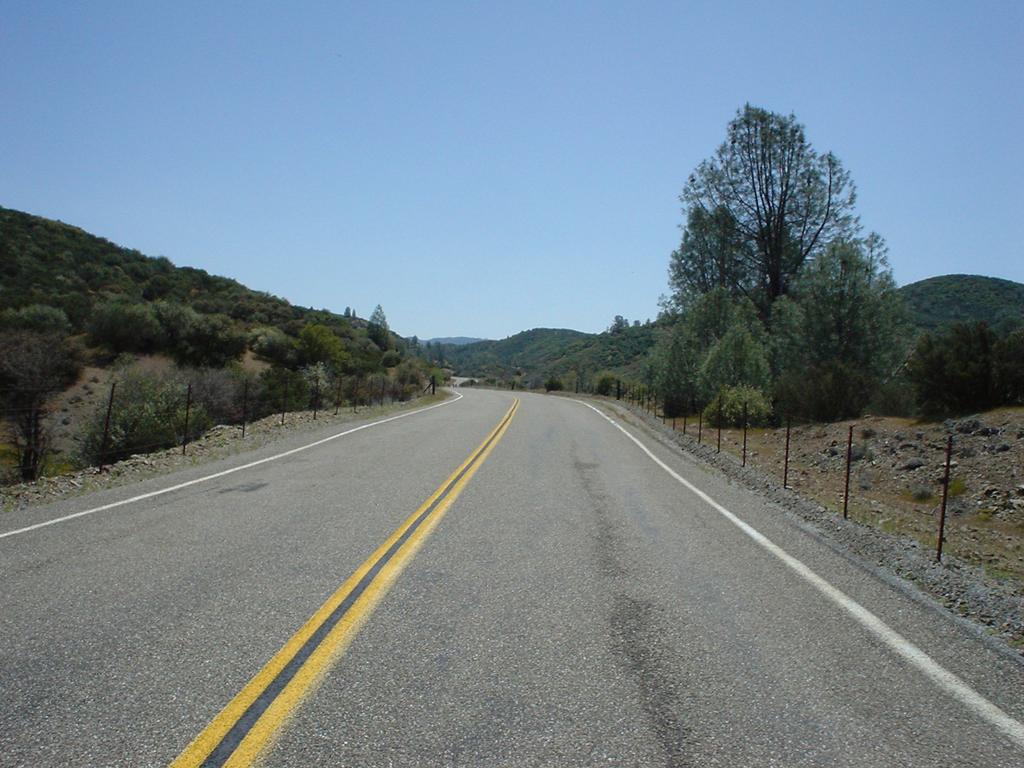
Hamilton-Mines Loop: Image 6 of 17