

|
|
|
|
|
|
|
|
|
|
|
|
|
|
|
|
|
|
|
|
|
|
|
|
|
|
|
|
|
|
|
|
|
|
Step Three - Creating the Ball Mask
Now that we have our edge image and our two layers we can build a mask
that identifies the probable locations of the ball. My algorithm is based
on the following observation: only the ball appears in the ball layer and
not in the player layer and has edges visible. Thus, to find probable
locations for the ball I simply mask the ball layer with the inverse of the
player layer and then multiply by the edge mask.
In Matlab, the code reads like:
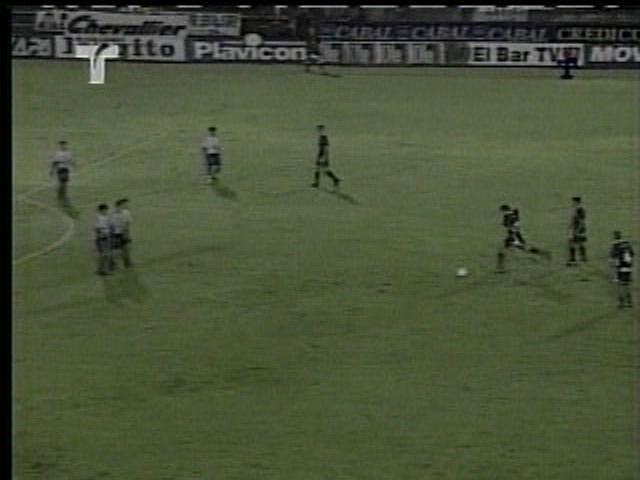
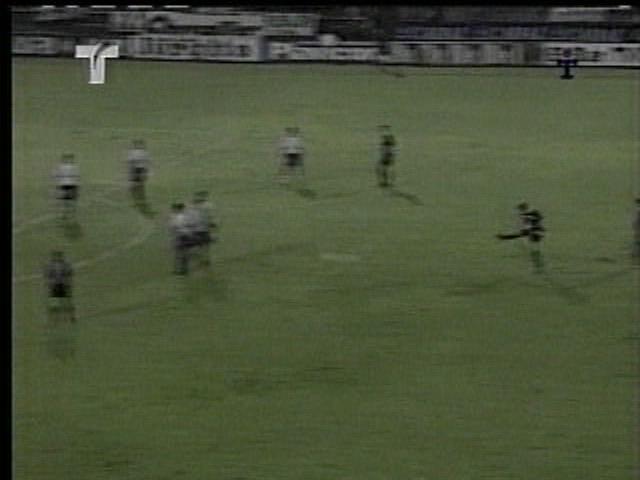
Let's break down this computation in terms of the images involved. First, let's look at our original frame: Original Frame:
 If you remember the edge image for this frame from step1, you could see that the ball was pretty clearly outlined on the field. There were also a few shadows on the field that show up on the edge image and since they are on portions of the field that are selected by the ball layer they will show up here. The multiplication of this edge image with the ball layer from the previous step gives us the following image: Ball Layer * edgeImage:
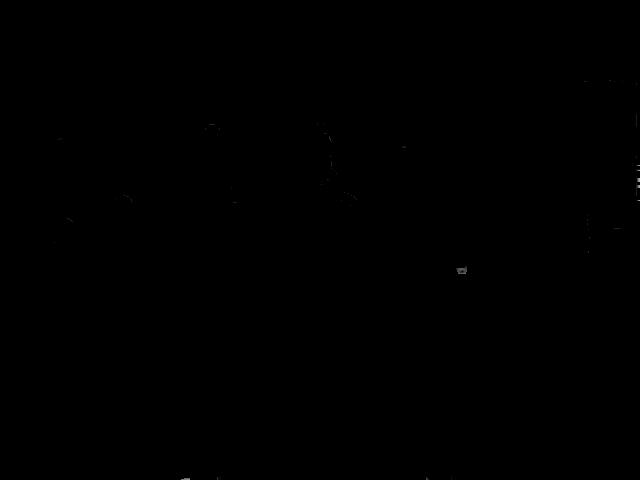 As you can see, this image pretty clearly highlights the ball. There are also some faint little specs through out that correspond to shadows on the field or discontinuities that showed up both in the edge image and ball layer. Sometimes players themselves show up, which is the purpose of the final step that attempts to remove the player layer from this. I show it below: Final ball Mask:
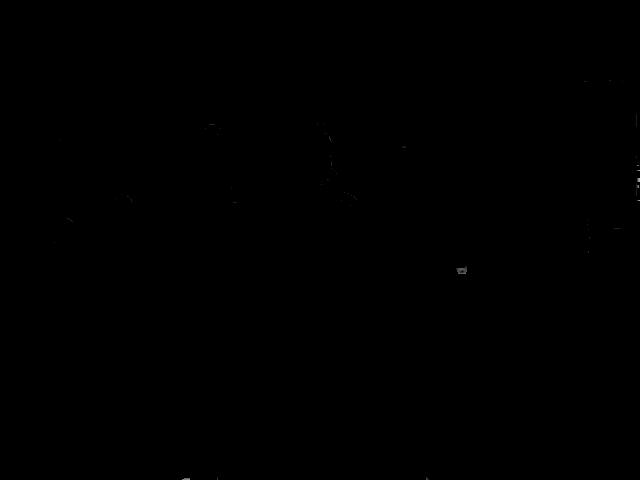 This image does not look too different for this particular frame, since the players do not really show up much in the ball layer. However, I have seen other frames in which this makes a difference. See the "Outtakes" of test2. By the way, I should note that the ball mask is not completely free of noise. This is why we will still use Lucas Kanade to predict where the ball will be and then use the ball mask to determine the closest possible ball position to that initial estimate. To finish, let's take a look at a very tough frame from the middle of the "free kick" sequence:
 As we discussed earlier, the ball is extremely blurred and difficult to see. The edge detection code outputs the following:
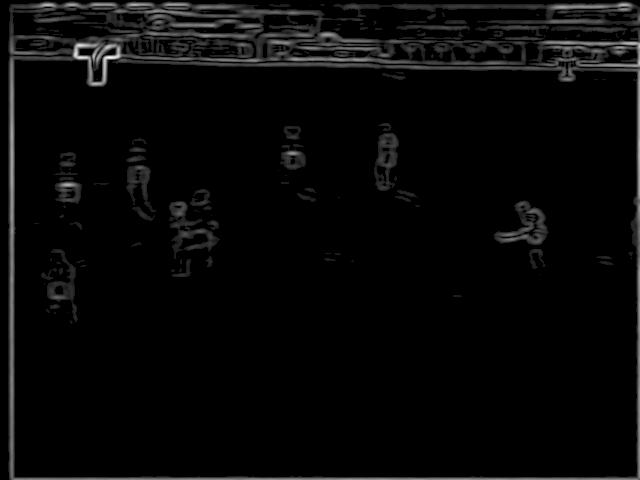 If you look closely, you will see faint little marks where the ball is streaking by. I won't show the ball and player layer images because they don't make much sense, but the final ball mask for this image looks like:
 Notice the faint marks where the ball is located show up on the final ball mask. There are also a few other marks in other places, but all we need to do is have our tracking algorithm bring us close enough to the real ball so that we can use this mask to lock in to it. The tracking portion of the algorithm begins in the next step.
|
