Assignment 3 Camera Simulation
Doug Johnston
Date submitted: 16 May 2006
Code emailed: 08 May 2006 (or close to)
Compound Lens Simulator
Description of implementation approach and comments
I made an effort to take this one step at a time, so I wouldn't run into big problems with no idea what to fix.
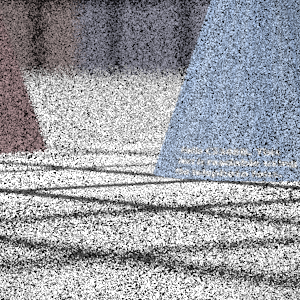
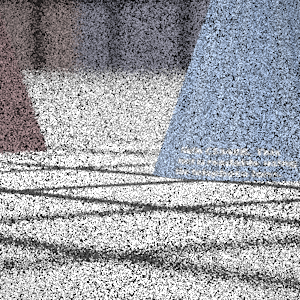
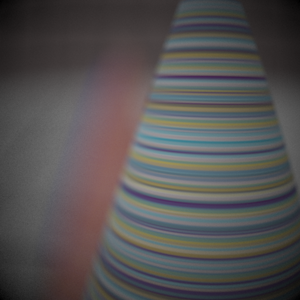
My first step was to setup the rendering system, and make sure I get thr raster->camera and camera->world coordinate transformations correct. I tested this by setting the direction vector normal to the film plane (ie: (0,0,1) in camera coords.), and let everything run, which should produce a very small orthonormal projection. This is what I got:
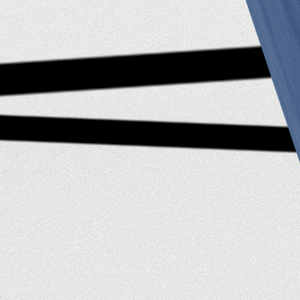
which looks like it should. Its the very middle of the image, flipped upside down like a good film plane should be.
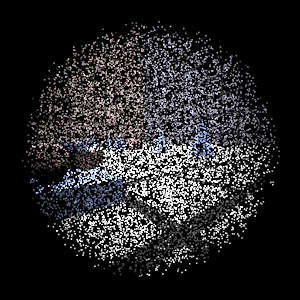
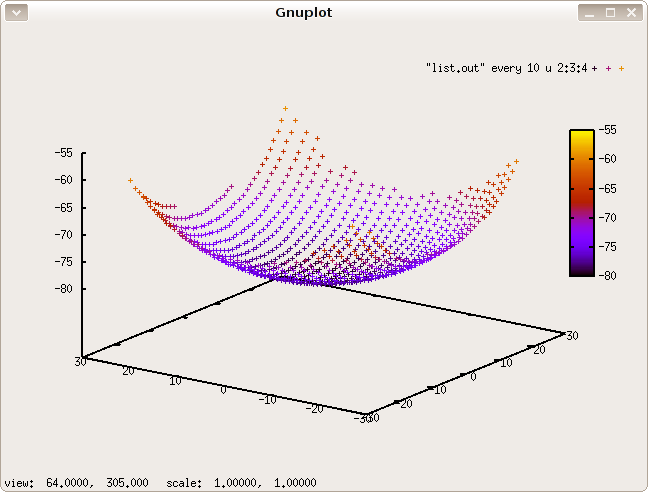
Next, I got the lens files reading in properly, and verified the output. I wrote a Ray-Sphere intersection routine, and tested it using only the back lens, with orthonormal rays, which produced the following output of interesections: [[br]]
 [[br]]
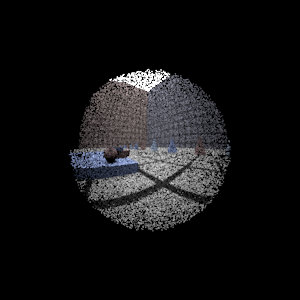
which looks pretty spherical lens-like. Next, I aimed the rays at the lensUV point after converting to a disk with concentricSampleDisk, and got what I expected:
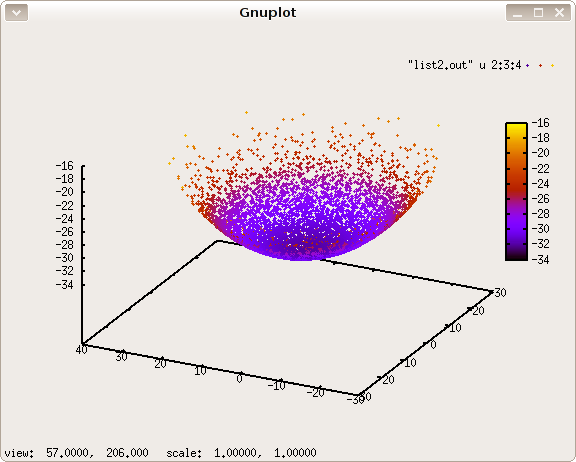
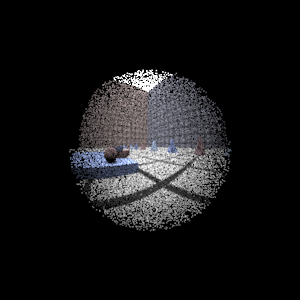
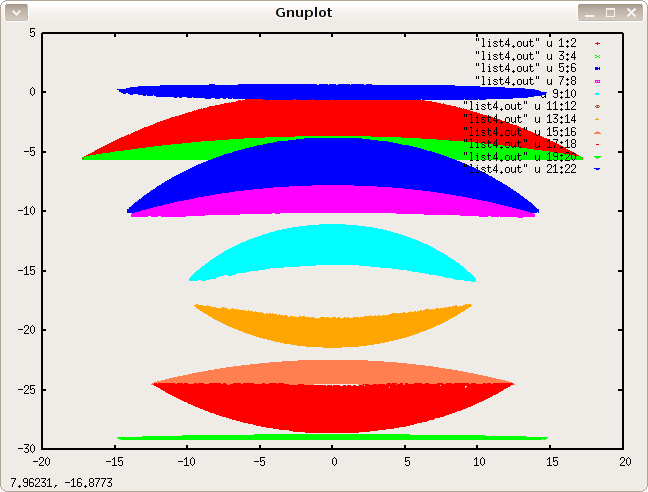
After this, I added all the lenses, and got the full lens system working. While still sending orthagonal rays, I computed the thick lens planes for use in the autofocus part.
I made sure to add the cos^4 term to the ray weight, and that about did it for this part.
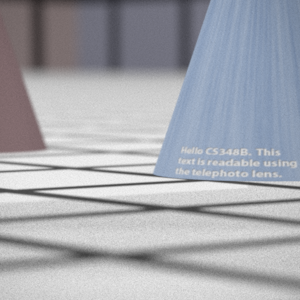
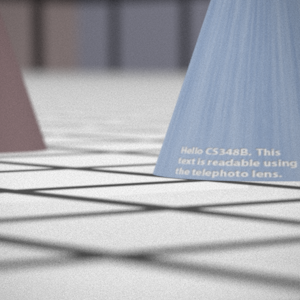
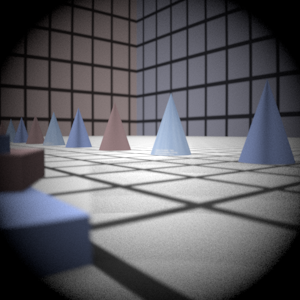
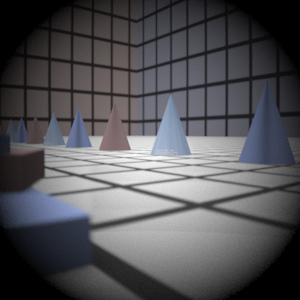
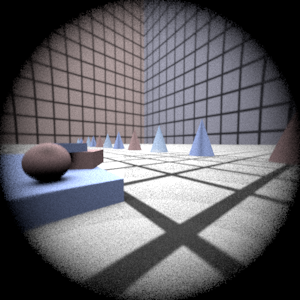
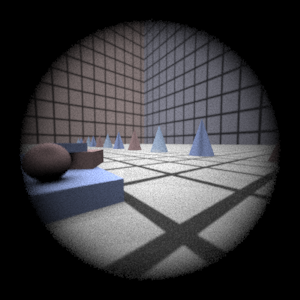
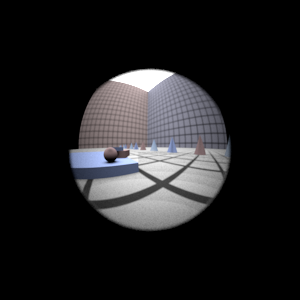
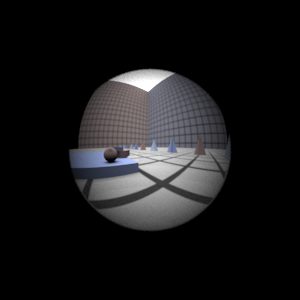
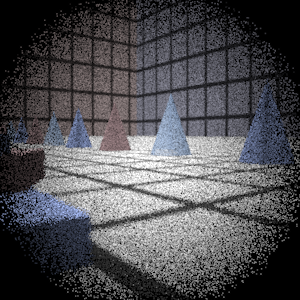
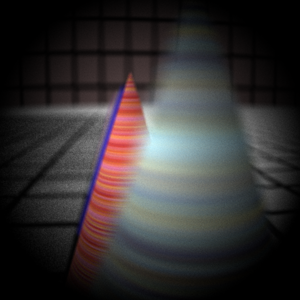
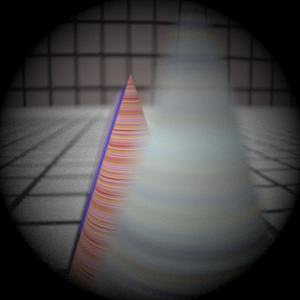
Final Images Rendered with 512 samples per pixel
|
My Implementation |
Reference |
Telephoto |
|
|
Double Gausss |
|
|
Wide Angle |
|
|
Fisheye |
|
|
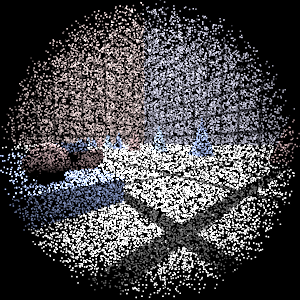
Final Images Rendered with 4 samples per pixel
|
My Implementation |
Reference |
Telephoto |
|
|
Double Gausss |
|
|
Wide Angle |
|
|
Fisheye |
|
|
Experiment with Exposure
Image with aperture full open |
Image with half radius aperture |
|
|
Observation and Explanation
We see that the image is sharper, becasue the aperture is smaller, but also noisier becasue less light came though (ie: more of the rays hit the stop).
Autofocus Simulation
Description of implementation approach and comments
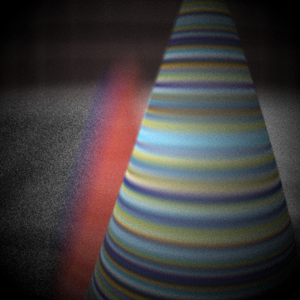
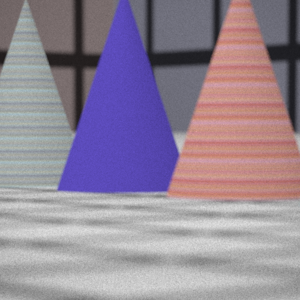
I took the distance approach for computing focus. In order to get the ditance information back to the camera class I needed to modify several parts of pbrt. I took pointers from Jared Sohn's webpage, who has a pbrt plugin to enhance the film class. I modified the Ray class in geometry.h to keep the intersection point in the ray, and then put code in scene.cpp to actually record the intersection point. Then, back in the realistic.cpp file, I can simply query ray.p to get the world coordinates of the intersection point of the ray. I calculate the distance from the front of the camera to world coordinates, and then just take the vector Distance between the two points. From this, I can compute a depth map of the scene, as seen here:
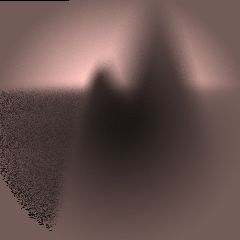
The above image is from the cone example. You can see the close objects are dark, while farther objects (like the wall in the background) are bright - indicating a large distance. Since the depth map is still noisy, I need to run about 8 samples per pixel to get an accurate enough sampling - which is much better than the number of samples needed for the "focus by image sharpness" technique.
This technique certainly appeared to work well, but I did not get the sharpness I expected. I tried to systematically trace through why I wasn't getting sharp images, and determined I must have not done the thick lens approximation correctly. Since I computed these before and hardcoded them, I didn't have a good, systematic way of updating the values, and dont think I ever got them correct. If I had to search using this method, I would be giving up my greatest strength! I should be able to calculate the correct film plane in one shot!
Final Images Rendered with 512 samples per pixel
|
Adjusted film distance |
My Implementation |
Reference |
Double Gausss 1 |
mm |
|
|
Double Gausss 2 |
mm |
|
|
Telephoto |
mm |
|
|
Any Extras
Another enhancement I tried was to trace total internal refractions in the lens system, and see if the rays ever make it out, like they should; ie: to produce lens flare. I enveloped my lens system with a cylinder, which would reflect rays that were going to far to the edge of the lens system back into the tube. I also allowed my rays to reflect internally in a lens element, instead of refract out, and then I would trace them 'backwards' through the lens system, and would only destroy them if they left the back of the rearmost element (ie: they were going back to the film plane). So, any rays that internally reflected twice (or any even number) had a good chance of making it out. I tried to setup a couple different cases, but the images weren't all that spectacular. I suppose if I used a small, very bright object, and the rest of the scene dark, I might have gotten more impressive results. At any rate, I did get the 'ceiling' light reflected back into the scene, which more of less is what this was supposed to do. Upload new attachment "refract.png"
