Assignment 3 Camera Simulation
Name: Ranjitha Kumar
Date submitted: 7 May 2006
Code emailed: 7 May 2006
Compound Lens Simulator
Description of implementation approach and comments
The first part of the assignment was to implement RealisticCamera::GenerateRay. There were two main tasks in the function: first, you had to set up a ray, and then you had to trace that ray through the lens system. To setup a ray, you have to choose a point on the film plane, the origin of the ray, and a point on a disk with a raidus that is equal to the radius of the aperture of the back lens element, which will determine the direction of the ray. To choose the point on the film plane, the program maps the point (sample->imageX, sample->imageY) given in raster coordinates to camera coordinates. The film
Final Images Rendered with 512 samples per pixel
|
My Implementation |
Reference |
Telephoto |
|
|
Double Gausss |
|
|
Wide Angle |
|
|
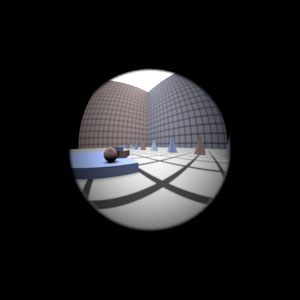
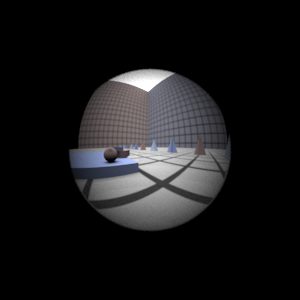
Fisheye |
|
|
Final Images Rendered with 4 samples per pixel
|
My Implementation |
Reference |
Telephoto |
|
|
Double Gausss |
|
|
Wide Angle |
|
|
Fisheye |
|
|
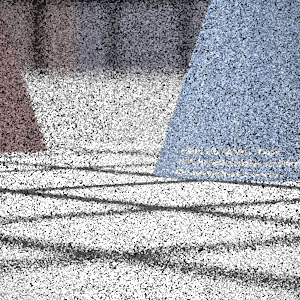
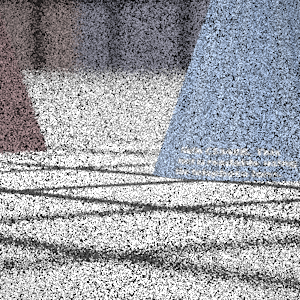
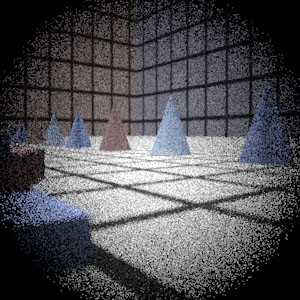
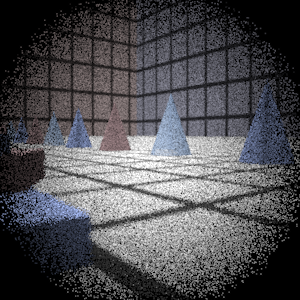
Experiment with Exposure
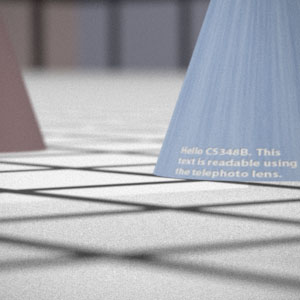
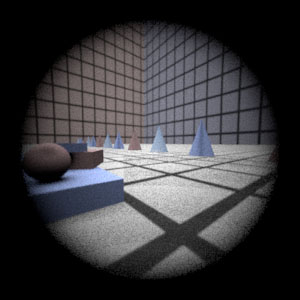
Image with aperture full open |
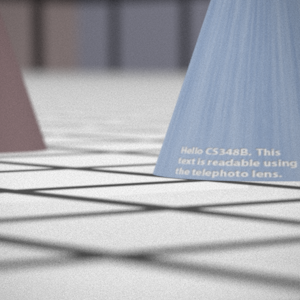
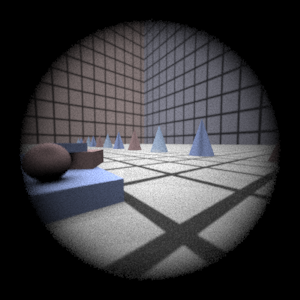
Image with half radius aperture |
|
|
Observation and Explanation
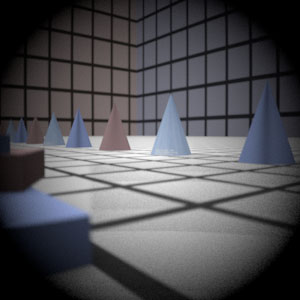
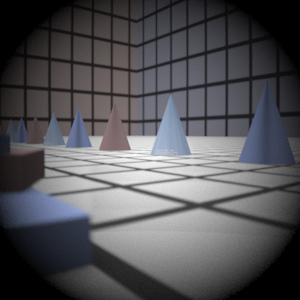
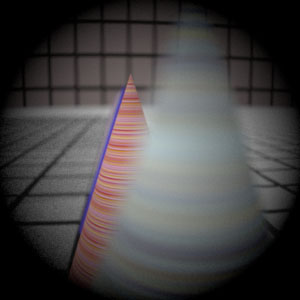
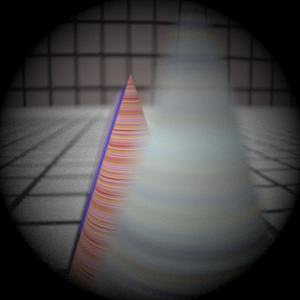
When you reduce the aperture radius by one half and keep the shutter speed the same, you expect that the image will be darker and noisier because fewer rays make it through the lens system and onto the film plane. This effect is illustrated by the images rendered above. Also notice how the foreground in the image on the right appears sharper than that of the image on the left; making the aperture smaller increases the depth of field because the circles of confusion are forced to be smaller; this concept is better illustrated by the stopped down renderings with the telephoto lens (see Extras below.) When you half the aperture size, you have decreased the photograph exposure by 2 stops.
Autofocus Simulation
Description of implementation approach and comments
......
Final Images Rendered with 512 samples per pixel
|
Adjusted film distance |
My Implementation |
Reference |
Double Gausss 1 |
62 mm |
|
|
Double Gausss 2 |
40 mm |
|
|
Telephoto |
117 mm |
|
|
Extras
Stop Down the Telephoto Lens
Decreased 4 stops |
Decreased 4 stops + exposure 4X in Photoshop |
Full Aperture |
|
|
|
By decreasing the aperture radius to one fourth its original value (4 stops), you can achieve a greater depth of focus. To better illustrate the increase in depth of field I created the rendering in the middle by taking the rendering to the left and changing the exposure to 4 in Photoshop. Notice how the near foreground and background, which appeared fuzzy in the full aperture rendering, now appear sharp and in focus. On an regular camera, if you increased the shutter speed by 16 times, you would get the image in the middle minus the noise.
More Complex Auto Focus
Regular - 39 mm |
Macro-Mode - 42 mm |
|
