Assignment 3 Camera Simulation
Tarang Vaish
Date submitted: 7 May 2006
Code emailed: 7 May 2006
Compound Lens Simulator
Description of implementation approach and comments
This assignment was pretty clear and straightforward in concept. Implementation took a circuitous route touching almost all bugs possible :). The basic idea was to generate a ray accurately in the camera space, refract it succesively through all the lenses using snell's law and finally transforming it into world space for further computations.
Implementation
To begin with I store the lens specifications in a structure and made it available to the generateRay function. The generateRay function converts the raster sample into camera/film space and treats it as the ray origin, the direction comes from sampling the nearest lens aperture with lensU,lensV parameters and connecting the origin to this point. After this, we have to refract the ray with the lenses. For this, the point of intersection of ray with the sphere which this lens is part of, is calculated, snell's law is applied to find the new direction of the ray, and origin is set to this intersection point. This is repeated for all the lenses starting from nearest to the film upto the farthest lens. The weight of each ray is assigned as (A/Z*Z)Cos^4(theta), where theta is the angle between the original ray and normal to the film, A is the area of the disk sampled on the first lens, and Z is the distance of this disk from the film.
Comments
Care had to be taken to simulate the right behaviour expected from a camera. Few important points I came accross.
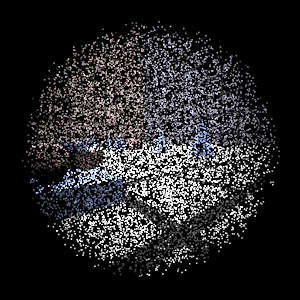
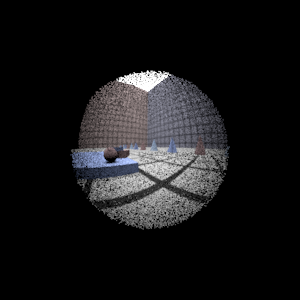
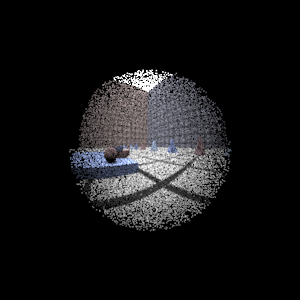
![]() ExitPupil: Not all rays that are sampled on the disk covering the last lens are able to pass through all the lenses and the aperture stop. I find the exitpupil by tracing rays from center of the film to the edge of the disk, if it passes then its good enough, otherwise I reduce the area of the disk by a factor and keep going until I find a ray that passes through all the lenses. The radius of the disk is then conservatively set a little higher than what we found and is then used in generateRay. The exitpupil helped improve the quality of the image specially when number of samples were low. However it was not very useful where the disk radius is very close or equal to the exit pupil anyways. I found 3-15% improvement in rays passing through the lenses succesfully by using the exitpupil.
ExitPupil: Not all rays that are sampled on the disk covering the last lens are able to pass through all the lenses and the aperture stop. I find the exitpupil by tracing rays from center of the film to the edge of the disk, if it passes then its good enough, otherwise I reduce the area of the disk by a factor and keep going until I find a ray that passes through all the lenses. The radius of the disk is then conservatively set a little higher than what we found and is then used in generateRay. The exitpupil helped improve the quality of the image specially when number of samples were low. However it was not very useful where the disk radius is very close or equal to the exit pupil anyways. I found 3-15% improvement in rays passing through the lenses succesfully by using the exitpupil.
![]() Its not always true that the first intersection of a ray with the sphere containing a lens, would be the point where the ray intersects the lens. This happens when the ray is far away from the center of the sphere.
Its not always true that the first intersection of a ray with the sphere containing a lens, would be the point where the ray intersects the lens. This happens when the ray is far away from the center of the sphere.
![]() Intersection of the ray with a sphere was not enough, the ray should also pass through the aperture of each lens.
Intersection of the ray with a sphere was not enough, the ray should also pass through the aperture of each lens.
![]() Finding the new direction after refraction was much easier using the Pat's idea, rather than using vectors.
Finding the new direction after refraction was much easier using the Pat's idea, rather than using vectors.
![]() Rays shouldnt go back. (Ignoring tracing the total internal refracted rays)
Rays shouldnt go back. (Ignoring tracing the total internal refracted rays)
![]() If we trace a ray, and keep the refractive index of all lenses as 1, then the ray's direction should not change after refraction. This helped in debugging.
If we trace a ray, and keep the refractive index of all lenses as 1, then the ray's direction should not change after refraction. This helped in debugging.
![]() Also, a ray passing through the axis of each lens should not be deflected even when lenses have different refractive indices.
Also, a ray passing through the axis of each lens should not be deflected even when lenses have different refractive indices.
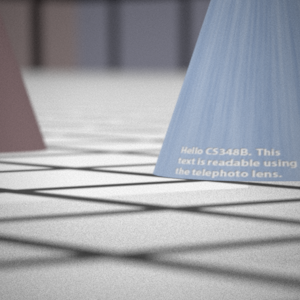
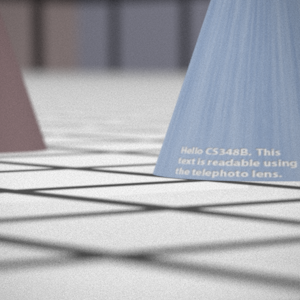
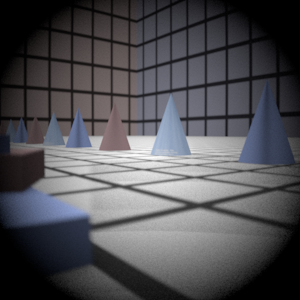
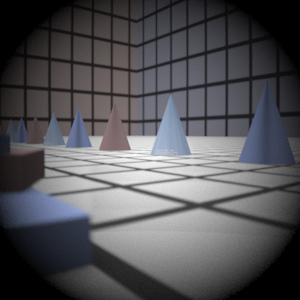
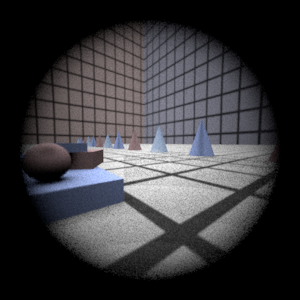
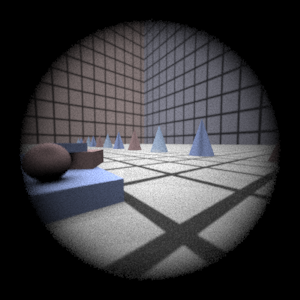
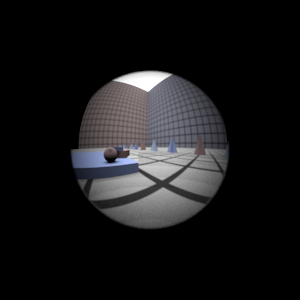
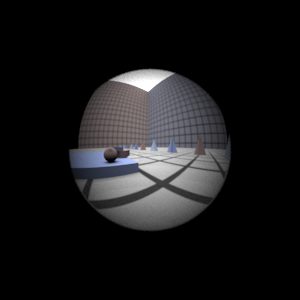
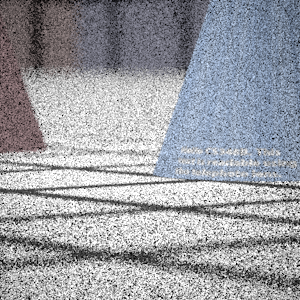
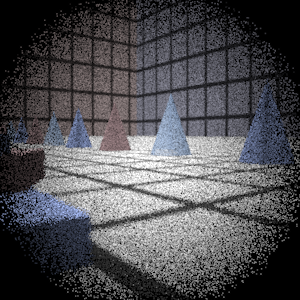
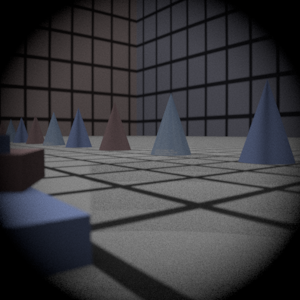
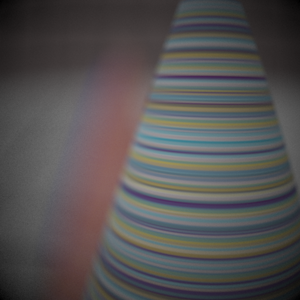
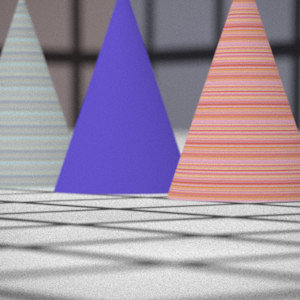
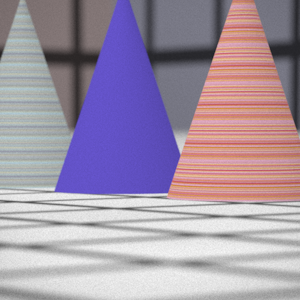
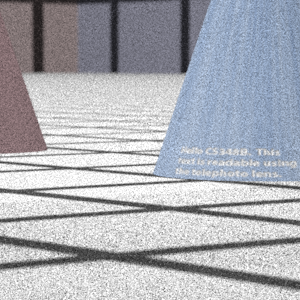
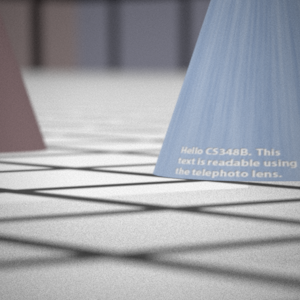
Final Images Rendered with 512 samples per pixel
|
My Implementation |
Reference |
Telephoto |
|
|
Double Gausss |
|
|
Wide Angle |
|
|
Fisheye |
|
|
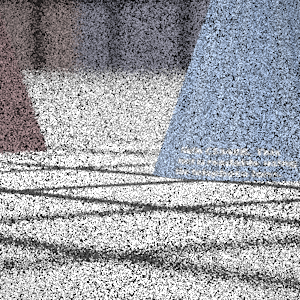
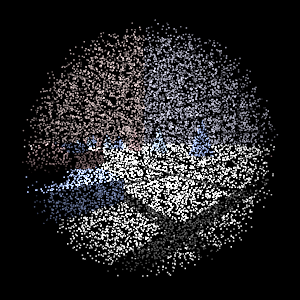
Final Images Rendered with 4 samples per pixel
|
My Implementation |
Reference |
Telephoto |
|
|
Double Gausss |
|
|
Wide Angle |
|
|
Fisheye |
|
|
Experiment with Exposure
Image with aperture full open |
Image with half radius aperture |
|
|
Observation and Explanation
On reducing the aperture to one half, I expected only a quarter of the rays which could pass on full aperture to pass now. It is assumed that the aperture of the stop was less than equal to the aperture stop of the camera. (Making the aperture double than the aperture stop and reducing it to half wont have any effect). I found my camera producing the desired effect, increasing the exposure by two in photoshop resulted in an image similar to the full aperture image. As the aperture is reduced to half, the f-number increased by 2 stops.
Autofocus Simulation
Description of implementation approach and comments
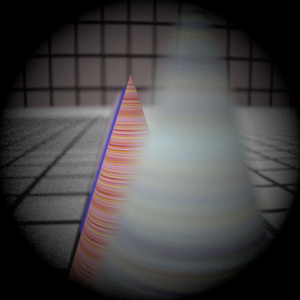
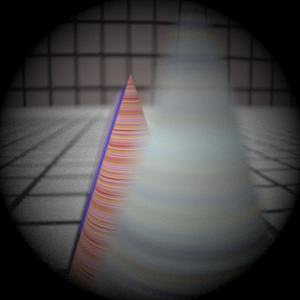
The autofocussing simulation was done by varying the filmdistance in an apropriate range and then finding the sharpest image using the SML operator as way to measure sharpness.
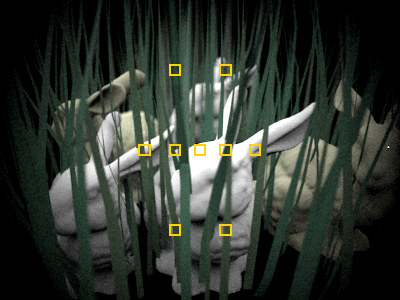
To compute the sharpness at each filmdistance, rays are generated only over the autofocus zone and stored in an array. Next, I find the SML for each pixel in the array, its rgb values are converted into a grayscale intensity and using a window of 3 the SML is calculated. Next I find the standard deviation of all these computed intensities as the measure.
The filmdistance needs to be varied in a large zone and also fine tuned for a good focussed image. Instead of using static ranges of search, I search in a range of 0.25f to 4*f, where f is the focal distance. The step size is varied from 10-25 according to the magnitude of f, to have small jumps. Once the loop is over, the filmdistance with maximum sharpness was chosen. The filmdistance was again varied in a small neighborhood around it for a better approximation.
For multiple AF zones, I give 3 options to the user, either choose the minumum, maximum or the weighted average of all the zones. Each mode has its pros and cons, and depends on what the user wants. The min and max values are subject to noise more than the weighted average.
Final Images Rendered with 512 samples per pixel
|
Adjusted film distance |
My Implementation |
Reference |
Double Gausss 1 |
62 mm |
|
|
Double Gausss 2 |
39.65 mm |
|
|
Telephoto |
118.3 mm |
|
|
Any Extras
Mutizone AF
Adjusted film distance |
My Implementation |
Reference |
39mm |
|
|
Stop Down the Telephoto Lens
|
4-Stop |
Brightness Increased 4-Stops in Photoshop |
Original |
Telephoto |
|
|
|
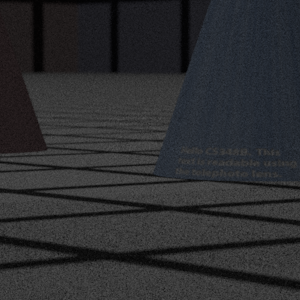
Stopping down the lens decreases the number of rays that reach the film. This increases the depth of field in the image as there are smaller circle of confusion, The intensity at each pixel reduces, increasing the exposure of such image increases the noise proportionally.
