Underwater Scenes
Our original plan was to render a scene of the ocean surface with killer whales as described in our project proposal (http://graphics.stanford.edu/cs348b-06/JulieTung/FinalProposal). However, when we began trying to model the surface of the ocean and the physical properties of waters as it interacts with large bodies (like whales), we decided that this focused too much on modeling the physics of the water and not enough on the actual rendering. We found equally stunning underwater photos of killer whales so we decided to do an underwater scene containing killer whales instead. Implementing photon mapping through participating media also seemed like a more contained project.
Volume Photon Mapping
PBRT already has photon mapping implemented for direct/indirect lighting and caustics; however, for an underwater scene, we also need to simulate the interaction of light with the participating medium, in this case, the ocean water. There is often plankton or dirt or other elements in the water that interact with the photons as they travel through the water, causing scattering and absorption. To simulate this we used the method described in Jensen's paper, Efficient Simulation of Light Transport in Scenes with Participating Media using Photon Maps. We allow the user to pass in a "volumephotons" parameter that specifies the number of photons to collect. During the photon shooting stage we first check to see if the photon is in a medium that scatters (in this case water), and if it is, we ray march at a jittered constant step size. In the Jensen paper they used the rate of absorption to decide the step size and control the rate of interaction, but for us, the constant step size yielded more visually pleasing results. At each step we first use an approximation to the cumulative distribution function given in Jensen to decide if the photon interacts with the water at that point, and if it does, then we use Russian roulette to decide whether the ray is absorbed or scattered.
The scattering uses the Henyey-Greenstein phase function to decide which direction to scatter in. We tried various values of g for this, and ended up using .8, which is mostly forward-scattering, that gave us well-defined godrays while still giving the water an overall smooth appearance. Using the same idea as from the normal photon scattering algorithm, which uses Russian roulette to decide whether or not to stop following the photon if it has scattered in the water 3 or more times already.
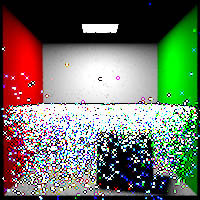
In order to ensure that our photon shooting algorithm was working correctly we tested our algorithm in a modified cornell box (half filled with water) -- obviously it wasn't quite working yet here. =P
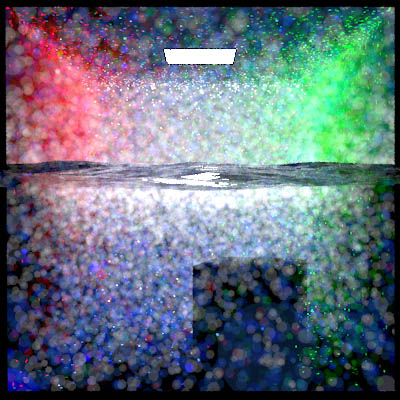
We also outputted the collected photons to a file and visualized using tiny spheres for the photons.
One problem we ran into was that water absorbs different wavelengths of light at different rates (the lower frequences are absorbed more quickly) leading to water's blue color. However, Jensen's paper didn't mention how they dealth with this, and in previous final projects on this topic, they used a single absorption coefficient for all color channels and then artifically changed to color of the light. We wanted to be able to simulate the effect where water looks colorless in shallow depths but gradually gets more blue as you have more depth. So we defined a rate of absorption for each color channel and then when we store the photon during ray marching we scale each channel based on the rate of absorption for that channel. As a result we were able to obtain images where the water starts off nearly white at the surface and gradually becomes more and more blue as the water gets deeper.
Upload new attachment "blue.jpg"
Rendering
We also used a jittered fixed step size during ray marching to collect the photons in the Volume photon map. Our original images turned out really strange and polka dotted. Here's a prime example...
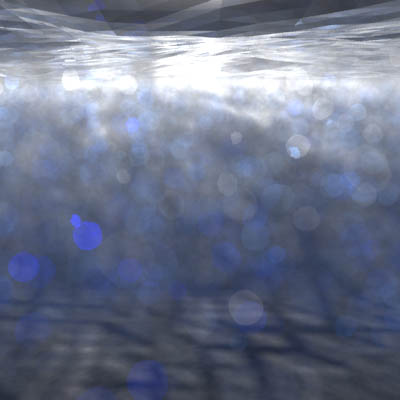
We ran some debugging stats on it and found that we were collecting too few volume photons, and as a result many rays failed to collect any photons while the ones that found one or two turned out really bright. After turning up the number of volume photons as well as increasing the radius of collection we obtained much more reasonable results.
The Whale
We attempted to use Lightwave to model the whale but after several failed attempts, we decided to buy a 3ds model of a whale online. We then built the utility that we downloaded w/ the pbrt package, 3ds2lrt, to export to the pbrt scene format. We ran into some trouble when we tried to texture the whale. However, after much experimentation, we realized that the u,v coords were flipped in one of the directions, so we flipped the image in photoshop and everything was dandy.
We used a test texture with wacky colours to figure out what was wrong w/ the u,v coords of the texture.
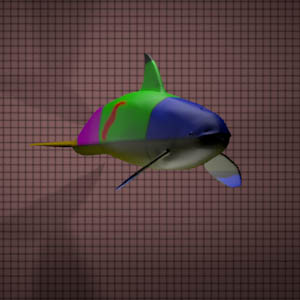
The correctly textured whale model
Upload new attachment "whale2.jpg"
God Rays and Caustics
In order to enhance the realism of the scene we wanted to have god rays and caustic effects in the scene. How well the god rays came out depended a lot on the surface of the water, the step sizes of the shooting and collection phases, and how many photon samples were collected.
We like the god rays in this one!
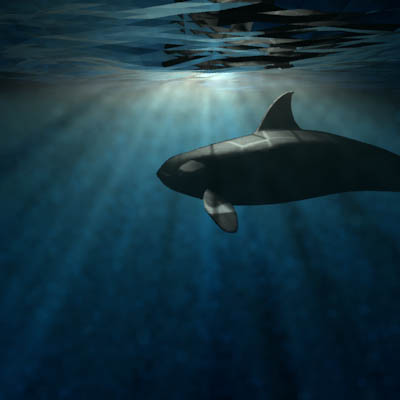
Here is an example of caustics on the whale which looked quite good
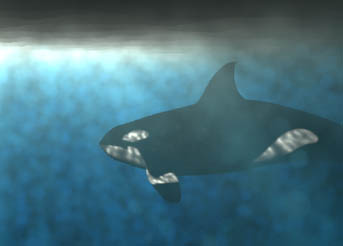
Unfortunately, it was very difficult to produce an image with bost effects in full force. A finer height grid would generally improve the caustic affects but was detrimental to the god rays, and vice versa.
Results
Here is our final rendered image. 800x800, 4 samples per pixel, render time ~3 hrs. Unfortunately, we didn't have time to render the image with more samples.

Another image we liked with slightly different light placement and a glossier material on the whale... 800x800, 8 samples/pixel, render time: ~5 hrs