Differences between revisions 61 and 62
| Deletions are marked like this. | Additions are marked like this. |
| Line 82: | Line 82: |
|
(close-up of jet exhaust) attachment:closeup.jpg |
Rendering Jet Engine Exhaust
Team
- Jawed Karim
- Anders Hagvall
Overview
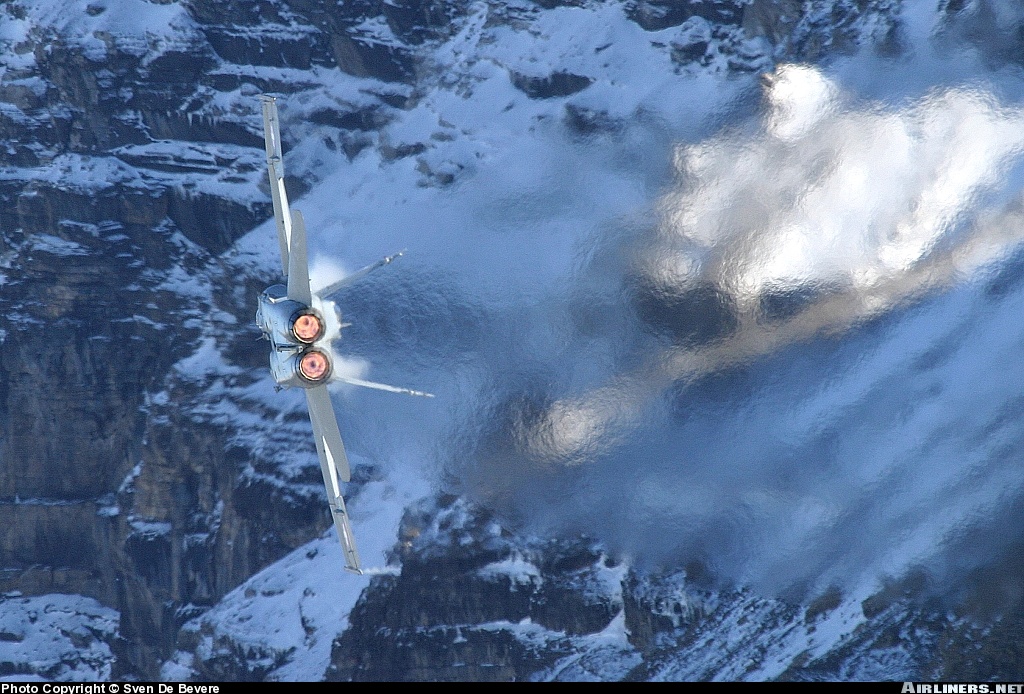
We wanted to reproduce the effect of looking through a mass of turbulent hot air as produced by a jet engine.
Physical explanation
Different temperatures inside the air mass result in varying air densities. The varying densities in turn change the index of refraction throughout the air mass. As a result, a viewer looking through the plume of engine exhaust sees a blurry and perturbed background scene.
Approach
The physically correct model for this effect is both complex and will most likely require long rendering times, so our approach was to see if we could reproduce the same effect using an approach that is less computationally expensive but still yields realistic-looking results. We treated the hot air as a new geometric primitive that is similar to glass, but whose index of refraction can be varied throughout the material.
Refraction mapping (Jawed)
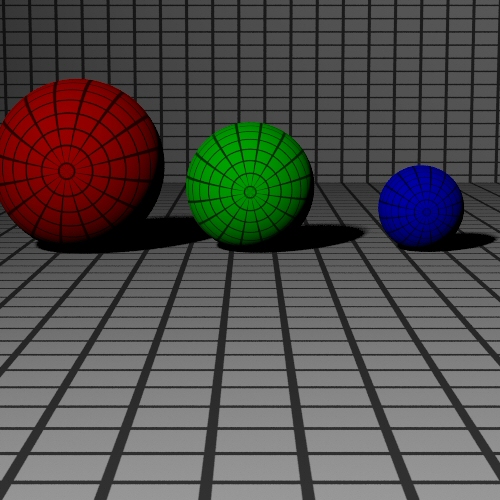
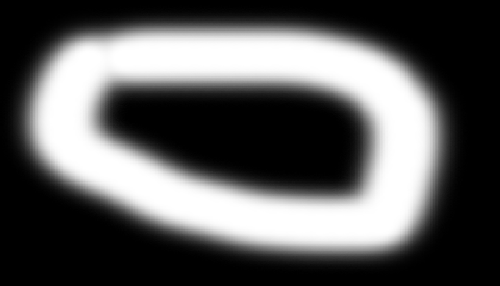
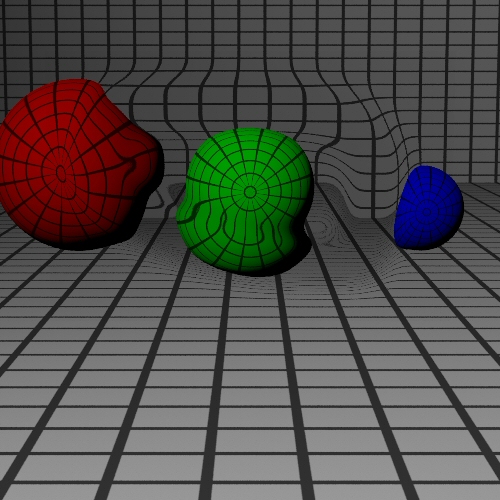
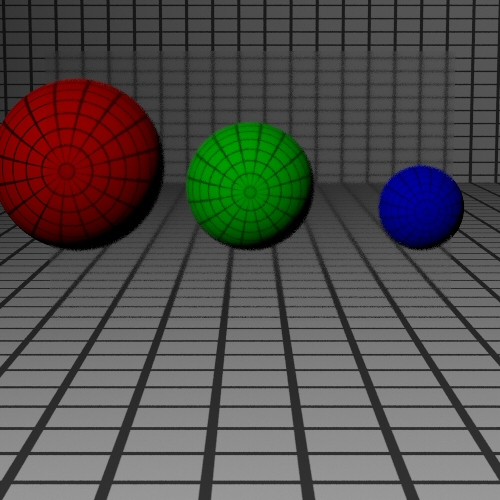
To accomplish this we used a method similar to bump mapping, which we call refraction mapping. Rather than perturbing normal vectors during lighting computation according to a bump map texture, as in the case of bump mapping, refraction mapping allows one to vary the index of refraction of a material according to a refraction map texture during refraction vector computation.
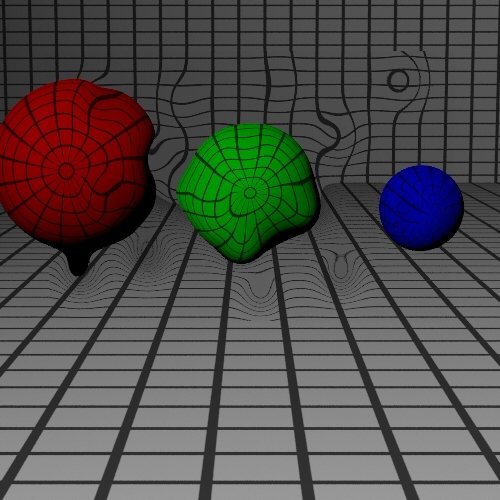
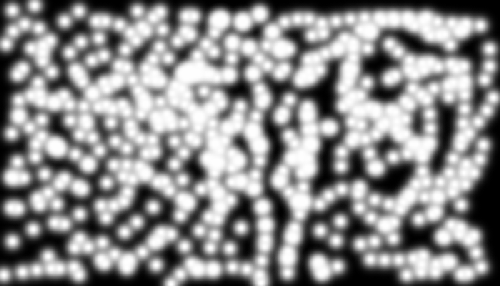
Refraction map |
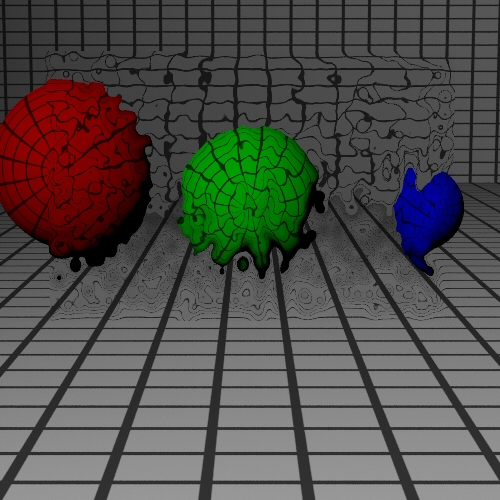
Result |
|
|
|
|
|
|
|
|
I modified SpecularTransmission::Sample_f() to fetch the index of refraction from the refraction map when the refraction ray is computed. The index of refraction is scaled from 1.0 to 1.2, depending on the pixel value of the refraction map. A black pixel on a refraction map causes no change to the image, whereas a white pixel results in the maximum index of refraction (in this case 1.2). I also modified the Fresnel computation to remove the material's color dependency on the ratio of the indexes of refraction of the internal and external materials. The term "(et*et)/(ei*ei)" in the equation caused the material to look brighter with a higher index of refraction. Since this was not a desired effect, I changed this ratio to always be equal to 1.0.
Refraction blurring (Jawed)
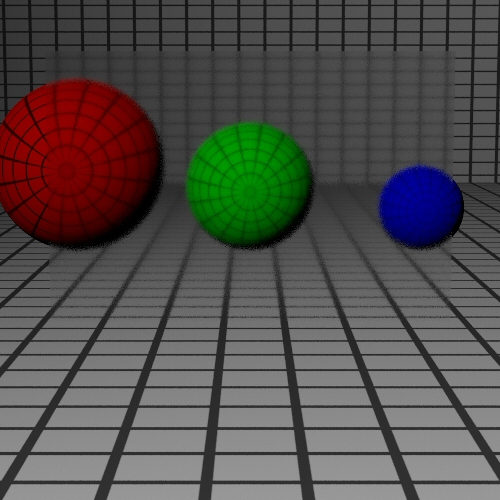
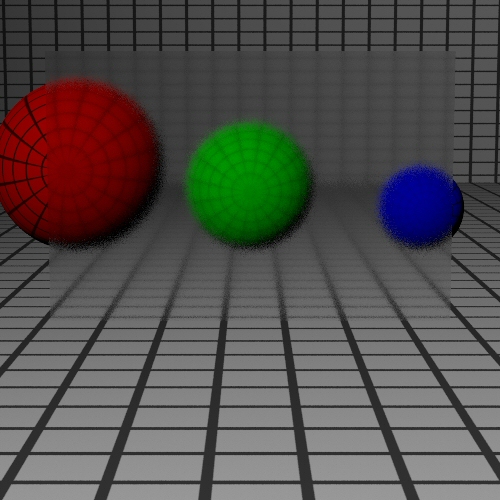
I found that the above approach was not sufficient, as it produced images that lacked the blurry appearance seen in the real world. I added blurring by shooting multiple refraction rays at each intersection with our custom material, where each refraction ray is jittered by a random amount. These refraction rays are then averaged to obtain the final color of the intersection with the material. The implementation has two parameters that allowed us to tweak the appearance of the blur: the jitter amount, and the number of refraction rays generated. A higher jitter amount produce a stronger blur, as a larger area of the background is captured by the refraction rays. A higher number of refraction rays makes the blur smoother, but also takes much longer to compute.
Particle system (Anders)
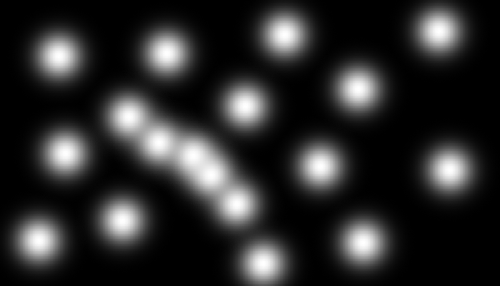
To reproduce the turbulence shown in the image in the top, the index of refraction cannot merely be random. The pattern of the varying indexes of refraction must follow a turbulent pattern. For this purpose, I decided to write a procedural smoke generator. Our initial guess was that smoke would create the refraction pattern we were looking for. I started off looking at a couple of simple OpenGL Point Sprite tutorials on the internet to get a grasp how to use the GL extensions. Since we didn't exactly know if a smoke map would actually model the refraction pattern in a good way, making the simulation physically correct was not my first intension. To begin with, I just implemented a constant amount of particles, gave them initial velocity and simulated their behaviour by using a randomized noise acceleration, air resistance, a resting goal speed to strive towards and then simulated the positions by integrating these variables using numerical Euler. Point Sprites is a convenient way of rendering particles, since a Point Sprite is a hardware accelerated Billboard, rendered on any single verex in space, always facing the viewer.
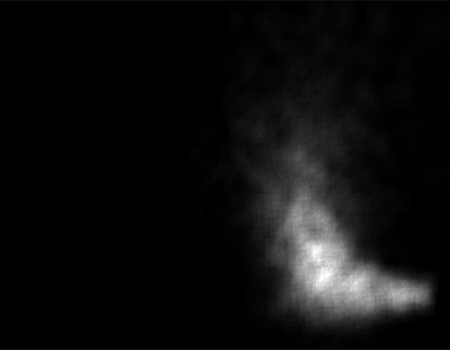
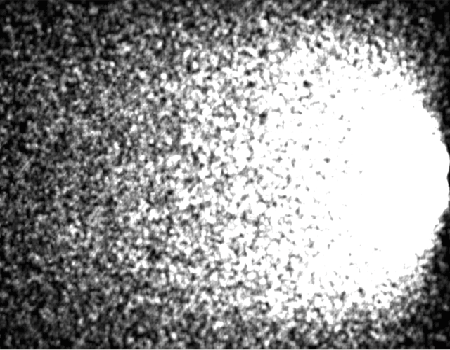

Since the purpose of the simulation was testing different patterns, I started to add some more parameters to make the application more versatile. It currently handles exhaust power, exhaust radius and paramters to reglate the yaw and pitch of the outburst. These paramters create the basic shape, which can vary between pretty much a completely still blob emitting particles to a huge jet like stream of particles. Parameters to change the motion pattern of the system are variance, restingYspeed and airresistance, which together can give effects such as a uniform jet beam, a slowly rising, varying smoke cloud, a more high variance, independent system of particles and also a consant wind effect on the beam. The most important parameters for the smoke map appearance are however the number of particles, point sprite size, particle age and in which way to change the alpha value over time.
Through these effects, we were able to create a great diveristy of maps, which through experimenting got the result that the smoke approach is too smooth to reproduce the high detailed ripples you can see in the initial image. These ripples show up in all orientations, but in general they appear with their long side orthogonal to the engine exhaust. I then started experimenting with such textures, which totally took the simulation to a worse artistical level, but on the other hand generated much more convincing patterns for refraction mapping.

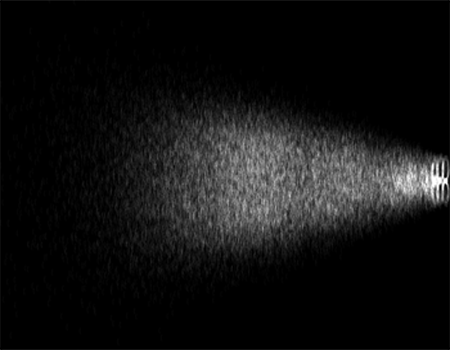
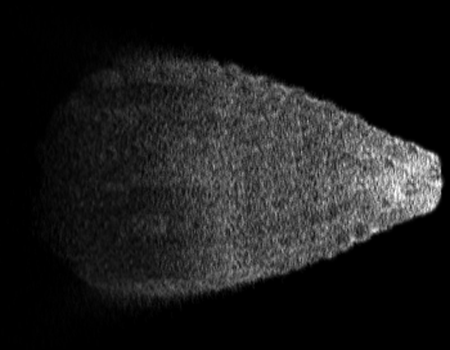
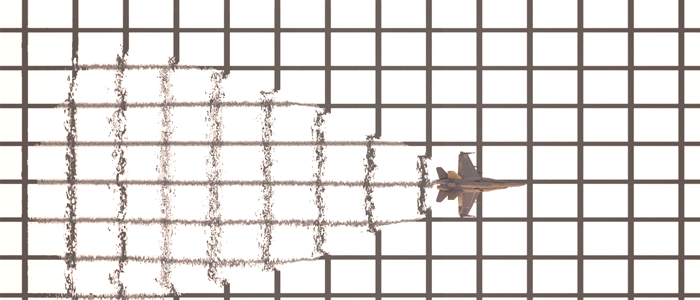
The final smoke map we ended up using is actually a composite of two smoke maps. First of all it turned out very tough to get a uniform flow of particles over the entire exhaust with high detailed textures, and second of all it was tough to capture the effect of the Point Sprites becoming smoother with time. The distinct edge was rendered sending out all particles with the same pitch, and then let the non-uniformity along the edge show up through a small variance. The middle was created using a huge amount of very long lived particles, and let the edge reglate their alpha values to fade off nicely at the back edge of the trail. Below is an image showing the effect of our final refraction map on a line grid background.
Implementation
The procedural refraction mapping is implemented in Visual Studio 2005 using OpenGL for rendering, GLU for windowing and keyboard handling and a simple vector class written by Kevin Harris. The implementation didn't include a lot of trouble, but it took me a long time to figure out certain OpenGL limitations, such as the limit of drawing 2000 Point Sprites within glEnable( GL_POINT_SPRITE_ARB ) and glDisable( GL_POINT_SPRITE_ARB ), which I finally solved by looping through that command for as many times as I needed each iteration.
Scene lighting (Anders)
The scene lighting was a bottle neck in our project for a long while. We wanted to make use of the infinite light in order to get the F-18 model to fit nicely into the scene, but all the nice skylight textures pbrt provided gave us terrible results on the back plane, by totally messing up all the colors. I looked into hacking pbrt to always just use the texture color for diffuse surfaces, but as it turned out, a simpler way was to add bright light to shine at the backplane from a distance, making the backplane unaffected by the infinite light, and through that preserve the effects it has on the airplane. To match the lighting to the final background, I had to write a new skymap, that had the sun at a point corresponding to the place of the actual sun in the picture. Once the brighter part of the skymap got in the approximate place of the sun, the light map did a good job and only needed some minor tweaking to produce the effect in the final image. The left image below maps the setting sun to the positive z of the hemispere, which is the opposite of what we are looking for in the final image. Using the one to the right we put the sun in a similar position to the drawn sun in the Paris background, which makes the F-18 look like it might be in the real environment.


Final image
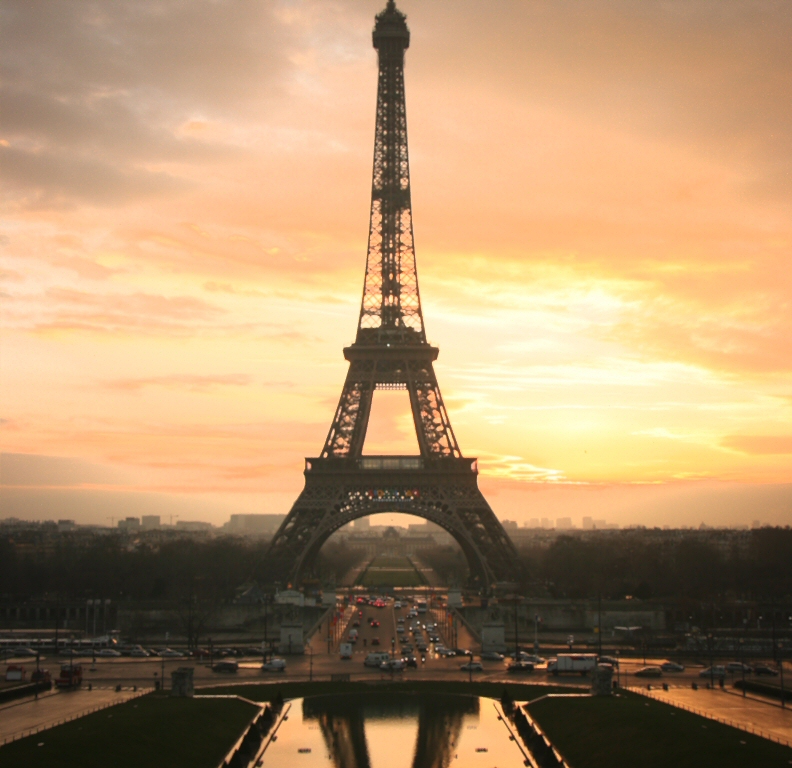
(Empty scene without jet)
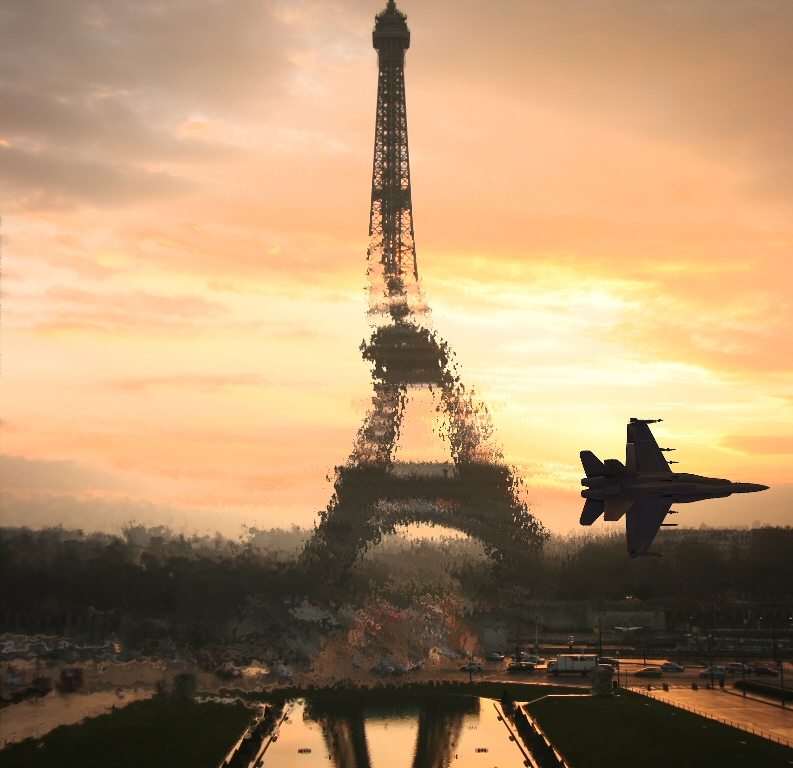
(Rendered scene with jet exhaust)
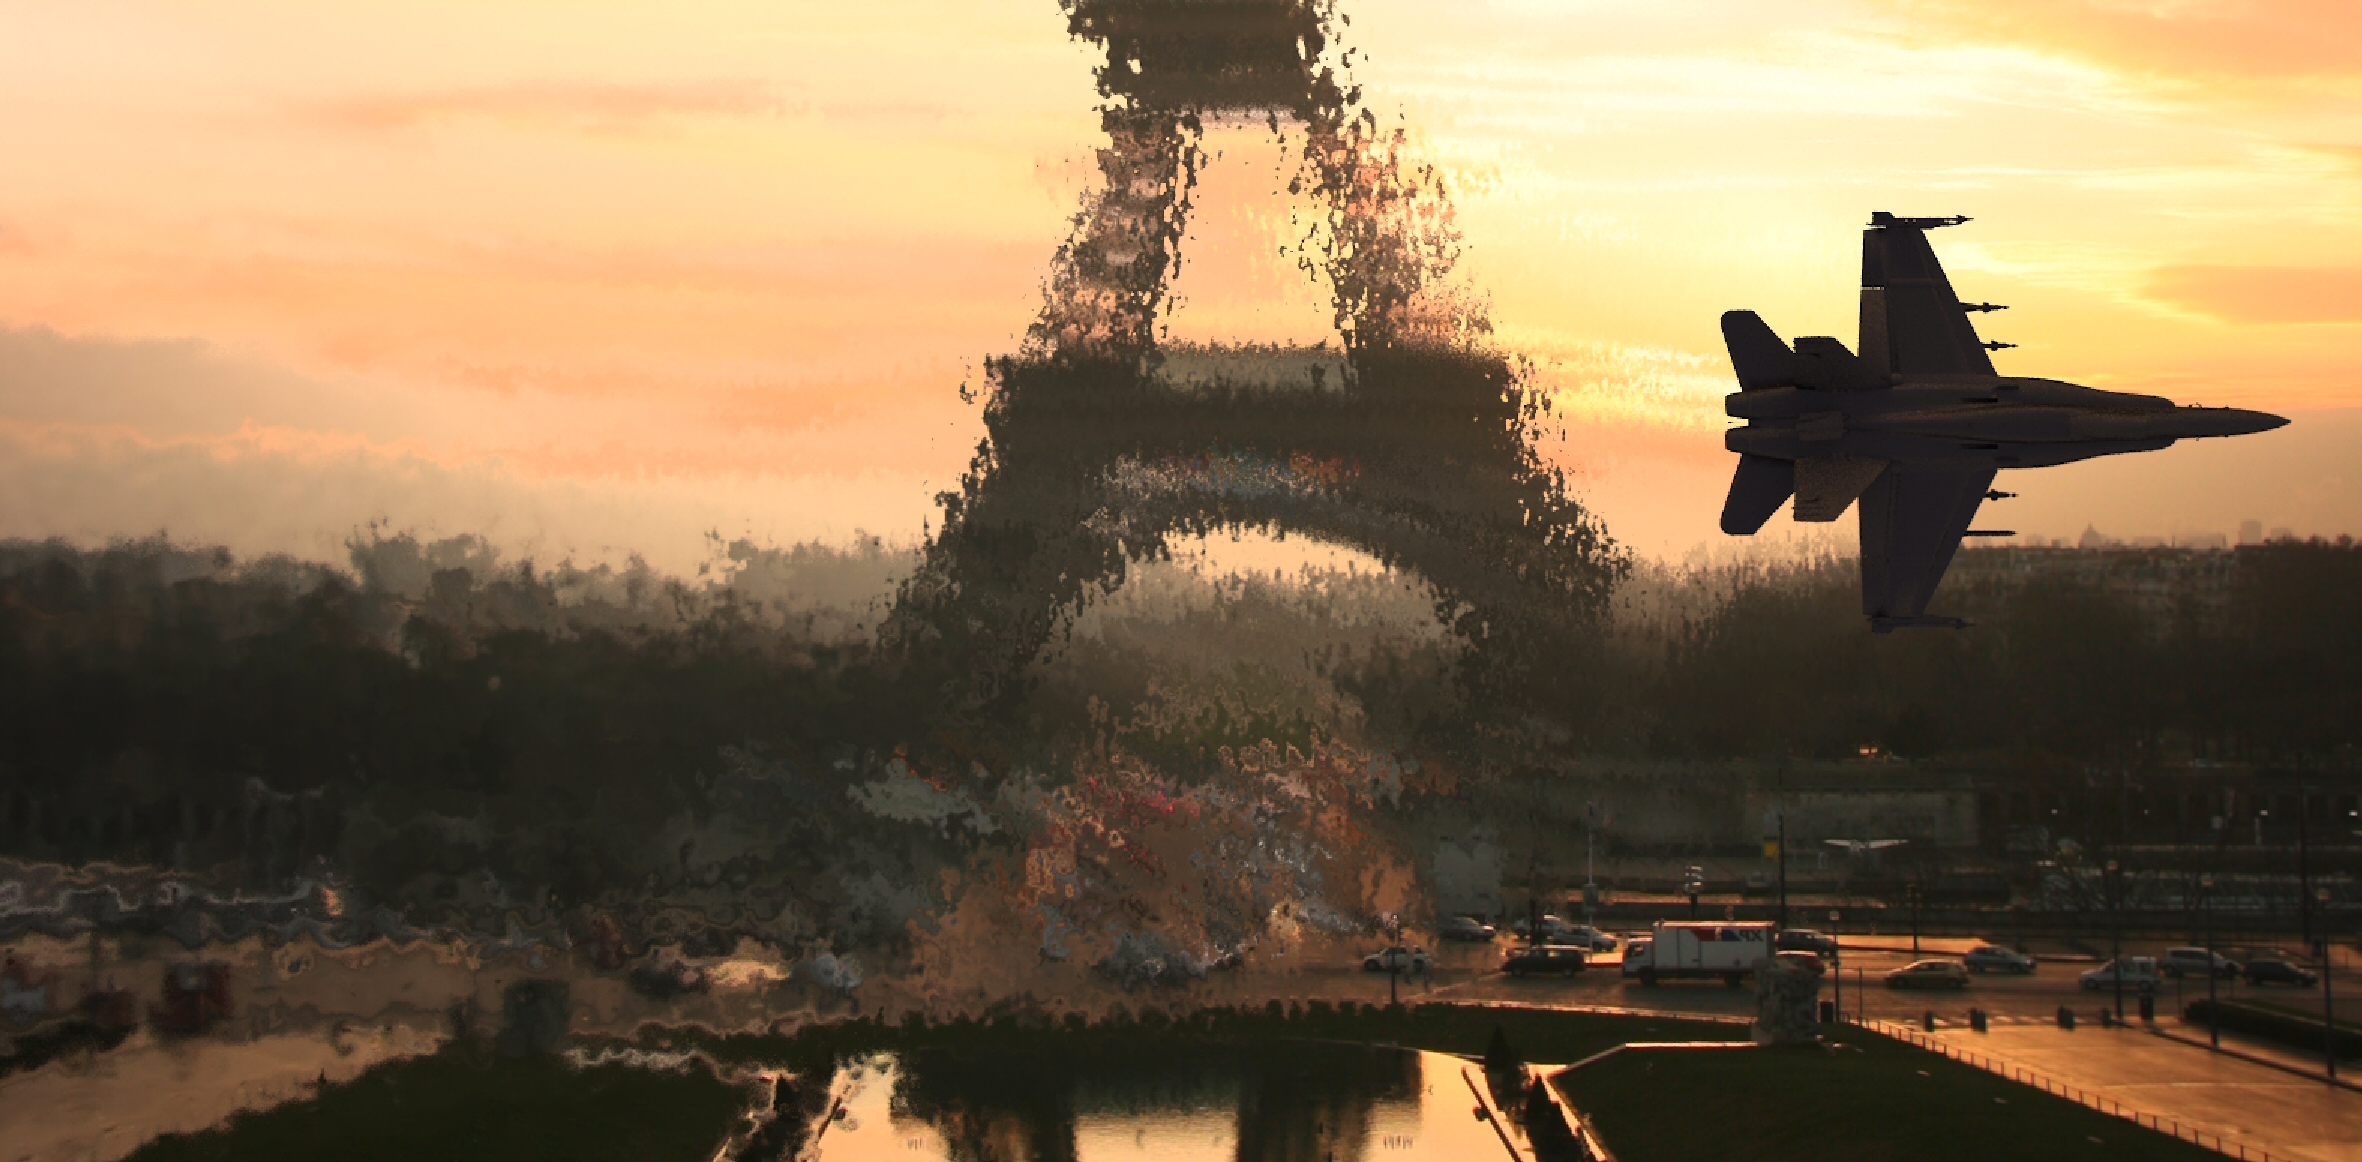
(close-up of jet exhaust)
Source code
References
http://en.wikipedia.org/wiki/Air_density
http://www.codesampler.com/oglsrc/oglsrc_6.htm#ogl_point_sprites
