Final Project
Author
David Trainor
Techniques Implemented
Volumetric Photon Mapping
Description
My approach consisted of two main steps. The first consisted of preprocessing the scene by shooting a specified number of photons from light sources out into the scene. If these photons intersected the volume without intersecting another object first, they would be processed as they interacted with the volume. My photon interaction method was fairly straight forward. I read up on a two primary techniques for dealing with calculating the time to next interaction with photons in a medium. The less accurate technique consisted of using the sigma t value present at the ray’s current location to determine the next intersection point. If the sigmaT was 0, indicating no density in the volume, I moved the photon ray forward a specified step size and tried again (to alleviate large aliasing issues). However this technique still introduces aliasing in non-homogeneous volumes because high frequency changes in sigmaT would not necessarily be taken into account when computing the ray’s next intersection time. Another technique is to ray march along the ray’s projected path and keep an average sigmaT value. When the distance has become greater than the average sigmaT value given by –log(RandomFloat[0,1]) / averageSigmaT then that would be considered the interaction position. I ended up trying out both approaches but for some reason the simpler approach looked better (maybe a flaw in my code for the more complicated method).
When the distance to the interaction point was calculated, I then needed to check to make sure no intersections took place with objects inside the volume. If there were intersections with objects, I would calculate a new photon ray trajectory based on the BSDF of the surface that was hit. This created realistic caustic effects with glass spheres as well as allowed light to bounce through the volume as it hit mirror-like surfaces.
If the photon did not interact with an object in the volume, I computed whether or not the photon scattered given the probability sigmaS/sigmaT. Then I importance sampled the Henyey-Greenstein phase function (as this is the function used by volumes to determine in-scattered radiance from light sources) and calculated a new photon trajectory. I then saved the photon in a list along with the incoming trajectory. Finally when enough photons were shot into the volume I used the technique implemented by the photon map surface integrator to save the photons in a kd-tree for efficient lookups.
The second part of this technique consisted of computing the Li of a ray traveling through the volume. This is where I used the technique implemented in the Single Scatter volume integrator to ray march through the scene. Here I had two choices again, I could either ray march at a specific step size, or I could use adaptive ray marching using the sigmaT value at the ray’s particular point to determine a 'time to next interaction'. In order to avoid potential aliasing I used the step size approach. I could have adapted the ray marching algorithm to find a good integrated estimate of how long each march should be, but this would just be stepping through the volume at a particular rate, then back tracking and skipping over a certain amount of those integrated steps. I decided that was extra unnecessary as I would be stepping through the volume anyway and could just tweak the step size to obtain accurate results for each particular scenario.
During each step in the ray marching I would also pick a random light to sample to get the direct lighting component of that particular point in the volume. This meant I did not necessarily have to rely on the photon map for direct lighting. I used the same algorithm as the photon map surface integrator for looking up photons in the kd-tree, finding photons close to the current point of interest, and weighting them properly to be used in the scene.
Problems Encountered
There were a few interesting issues I ran into while attempting to implement my volumetric photon map. While many were technical implementations and transforming vector equations into the equivalent cosine/sine equations, some were more interesting.
The most difficult to pin down was the bane of environment maps via infinite area light sources. I found that as I began to render my scene using infinite area light sources I ran into all sorts of artifacts (bright spots in the scene). That is, if my environment map had a bright spot I would get random bright dots throughout my volume (see images below). Interestingly, this also showed up with PBRT’s surface photon mapping. So I assumed it was the incompatibility of the two techniques. In fact, the infinite area light source implementation in PBRT just randomly chooses a sample on a unit sphere. This creates all sorts of issues when the environment map has different luminance values throughout the sphere. While the infinite sample implementation did help some with the noise for the lookups, it still left artifacts in the scene at certain points. By removing the environment map from the potential light sources sampled for shooting photons I was able to correct this issue. I felt that this was reasonable because a majority of my light (that should be interacting with the volume anyway) came from the spot lights. And since I decided to leave the environment maps in for the direct lighting component as rays were marched through the volume, it made even more sense. If the environment maps did not contribute much direct light, they certainly weren’t going to contribute much indirect light (which is what the photons were meant to represent).
References
Realistic Image Synthesis Using Photon Mapping by Henrik Wann Jensen
PBRT's Single Scatter Volume Integrator
PBRT's Photon Map Surface Integrator
Images
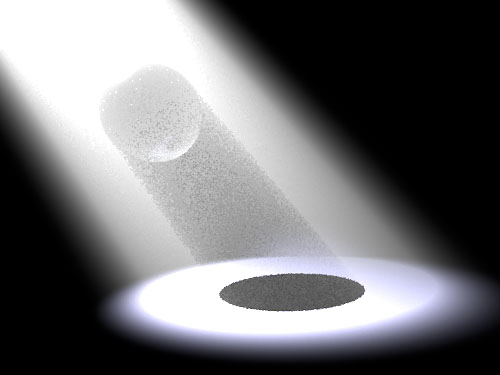 A picture of a volume using a Single Scatter volume integrator
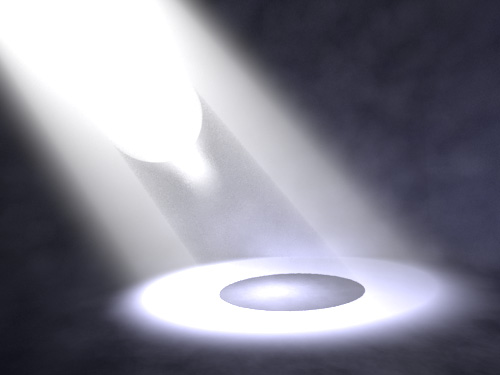 A picture of a volume using a Volumetric Photon Mapping volume integrator. A thing to note is the fact that the ambient light is brighter due to the photon scattering.
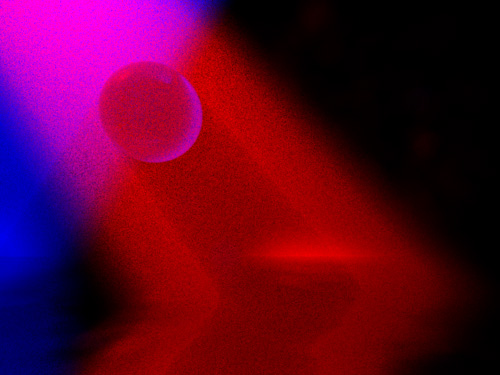
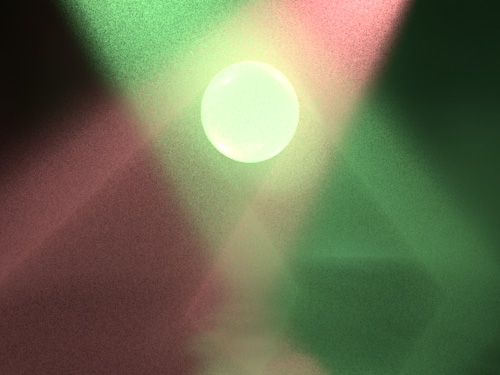
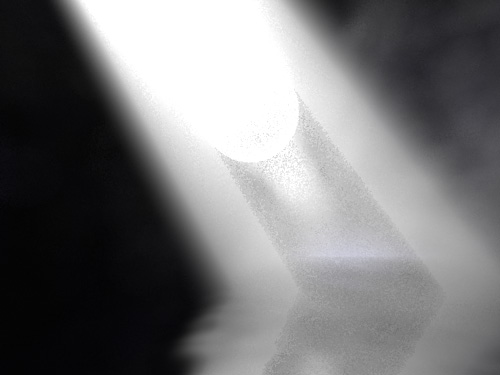
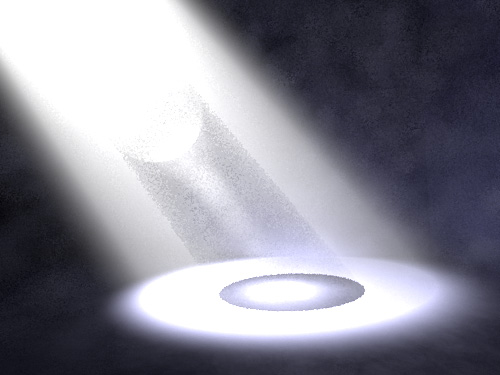
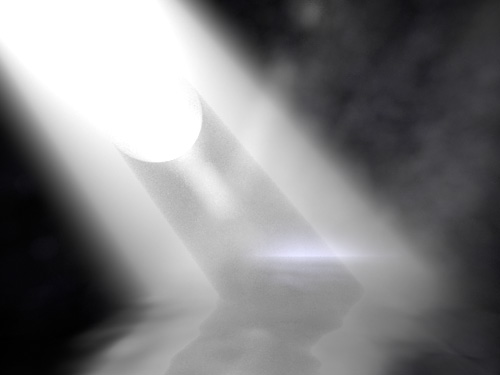
Some more examples of caustics shown by the volumetric photon mapping
Perlin Noise Fog
Description
I realized that in order to mimic a foggy or misty scene I would need to generate non-homogenious fog. I saw that this could be done using a modified volume density grid. I set out to research perlin noise and cloud generation. While there are a few light variations on how to actually create clouds with perlin noise, I found one that suited my needs and gave me adequate control over the resulting clouds.
The basic algorithm for each point in the volume grid is:
Overlap 3D noise with 4 octaves
Scale the octaves appropriately
cloud_value = 255 * (total_noise - (1 - cloud_cover))
final cloud density = 1 - (cloud_sharpness^cloud_value)
Where cloud_cover goes from [0,1], and cloud_sharpness from [0,1].
This worked fine using PBRT's Noise(x,y,z) function. However I noticed that my fog was way too noisy when I sampled the entire noise space available in the PBRT function [0,255]. So I realized that if I expanded a particular region of that fog noise I could create and control the overall frequency of the noise. So, for example, sampling from [0,50] of that noise function gives a much better result.
Problems Encountered
I had a few problems analyzing the Fbm code in PBRT. I wanted to apply that function to create clouds because it looked like it gave me the result I wanted. However that relied on remapping texture coordinates on geometry to create the noise effect, which was unnecessary in this case. So I instead wrote my own noise interpreter to create perlin fog.
References
http://freespace.virgin.net/hugo.elias/models/m_clouds.htm
http://www.gamedev.net/reference/articles/article2085.asp
Images
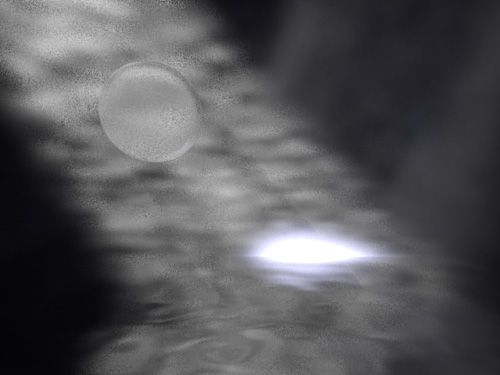 Fog sampled from the entire noise spectrum (0 to 255)
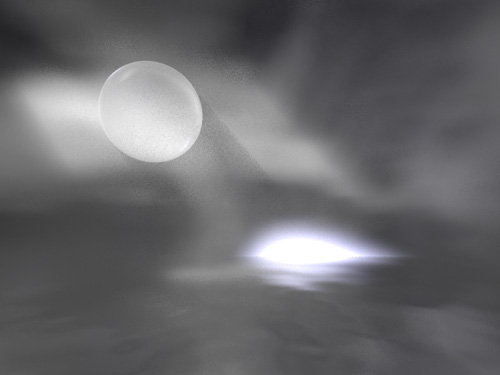 Fog sampled from a smaller spectrum of the noise (0 to 30)
Bump Mapped Water
Description
I wanted to make realistic water seen from close up. I realized that this water resembled a mirror and saw that PBRT had already implemented a mirror material to do the job. After reading about bump map generation in the PBRT book I realized they also already had a class that handled creating realistic water bump maps (windy). So I took this class and modified it a bit by scaling down the sample space (solving the problem like I did for the perlin noise fog). This allowed me to have smooth water at far distances or close up (while the image looks zoomed in, the actual xyz coordinates are not necessarily as zoomed so you have to do this frequency scaling). The algorithm uses Fractional Brownian Motion or Fbm (explained in the PBRT book on page 553). This is basically a way of using perlin noise with scaling frequency. However the Fbm function implemented in PBRT also handles anti aliasing by not including any octaves that go above the Nyquist limit.
Problems Encountered
None, except that the mirror surface produced bright reflections using surface photon mapping (until I tweaked down the Kr to minimize the reflected light).
References
PBRT's Windy Texture implementation
PBRT's Fbm implementation
Images
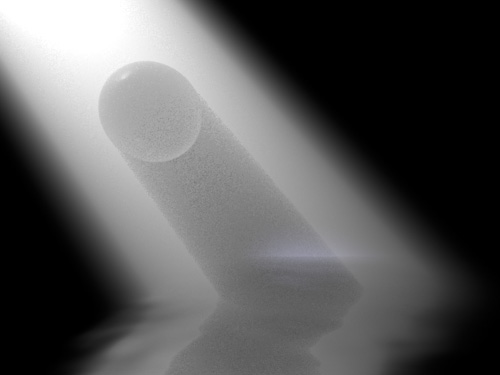 An image of smooth water
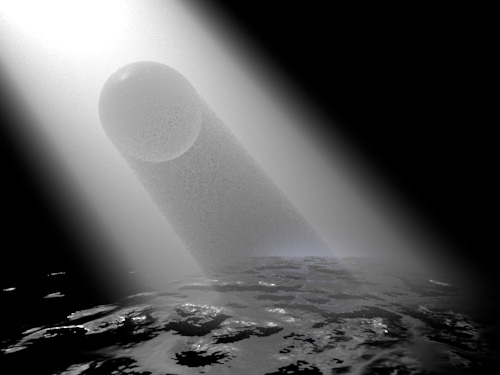 An image of rougher water
Techniques Not Used/Overall Problems
These are techniques or aspects of implementations above that did not make it into the final image
Real God Rays (through leaves)
I could not get God Rays into the image using volumetric photon mapping. I attribute this more to the fact that it did not look as realistic (those kind of effects are typically on a grander scale than this micro-scene) because I did not really think about this when planning my image. I could have snuck them in somehow but that would have required me to change the camera angle even more (see next problem).
Finding Leaf Models
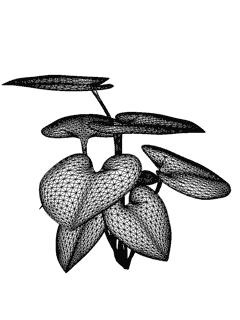
I had problems finding a proper leaf/plant model to use for this scene. I had searched all over the internet and did not want to attempt to create one myself. The reason I was unable to find an exact image to replicate was because I knew finding a model that represented that image would be practically impossible. So instead I set out to find a model and plan my image around that. In the end, I found a model included in the PBRT CD for the plants.pbrt image.
The plants were of reasonably high resolution and looked like they would be easy/useful to model. However I found that the plants were meant to be rendered from far away so the leaves were not really connected to any kind of plant body and they were pointing all over the place. I was able to remove some redundancy in the model but not all of it. So in the end it took a lot of tweaking and positioning to get a scene that resembled something that could be seen in real life. I spent way too much time trying to find a proper model and aligning it so it looked realistic. So I was unable to adjust the camera angle too much from my final image without introducing odd plant artifacts into the scene.
Other Images
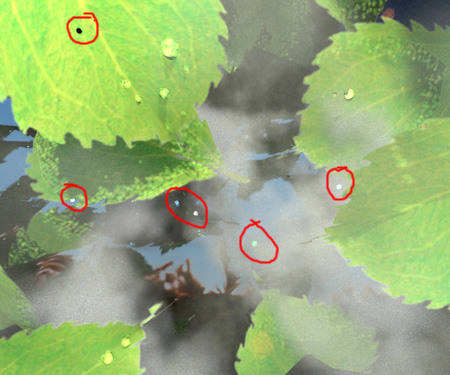
The artifacts with photon mapping and environment maps
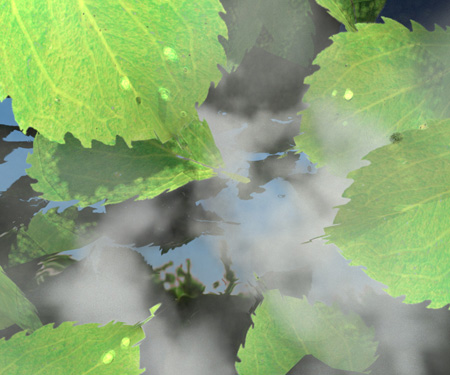
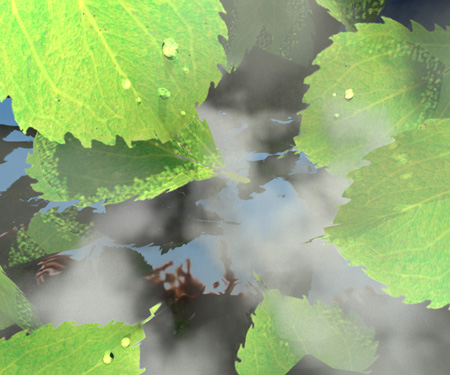
Note: This image has no obvious artifacts while the final image has that one in the upper left. In the end when it came down to it I had to suffer that artifact to get at least reasonable resolution on the dew drops. If you look closely at the image above you will see that the dew drops were blurry and faded out. In the final image they look better, but I have to deal with that artifact as a result.
Final Image/Conclusion
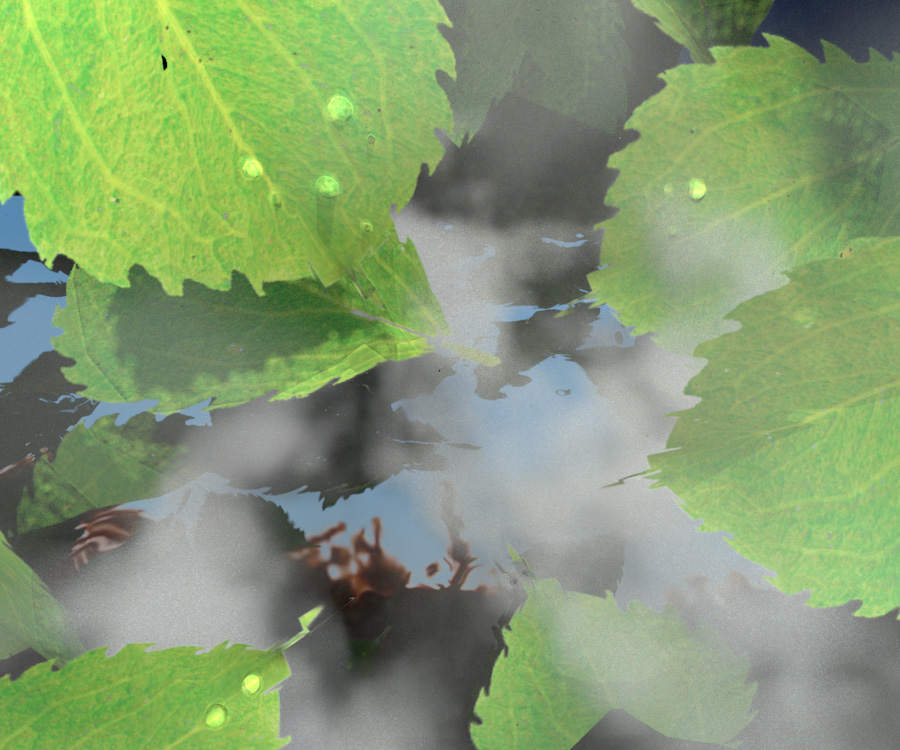
Overall my techniques worked out pretty well. The Volumetric Photon Mapping helped me create the fog and gave the scene a realistic feel. I feel like without it I would have had a very uniform scene. When I added the water and a treeline environment map it also made the scene look like it was in a forest, or at least at the edge of one. The dew drops proved to be difficult to both position and adjust. Photon mapping just seemed to blur them out a bit too much without decreasing the max distance to the point where I got some noise. Maybe extremely bright small caustics were a bad idea in hindsight. Also, if I had more time I would have liked to work on the godrays a bit more, but in general I am pleased with the results.
Resources
Leaves
A model from the PBRT book.
Code
Proposal
Overview
For this project I plan on modeling a plant growing out of (fairly) dark shallow water. There are plenty of effects that derive from this scene, but it was hard to pick ones that I knew I would have the time and the skill to execute. I wanted to add droplets to the leaves to create interesting refraction patterns. I also wanted to add rays of light because I find those to create beautiful forest scenes. I believe this will be a tricky feature to properly render but I'm hoping you guys can point me in the right direction here.
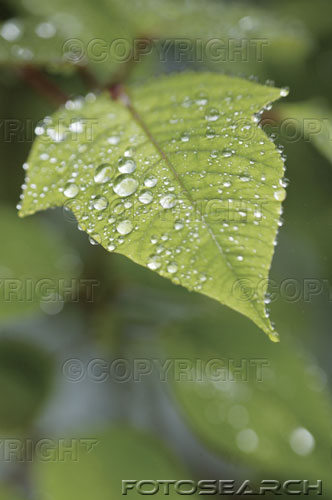
While I have been unable to find an exact picture of what I want, I have found plenty of sub pictures to help me get a solid idea of the scene I want to create and of the effects I want to place in that scene. Due to the nature of plant life, finding a picture and a corresponding model that accurately represents the plant in that picture would be impossible. So as long as I have pictures of the effects and the general scene idea I think I should be okay.
Technical Difficulties
1. Refraction: While we have already covered refraction through lenses, I hope to extend this out into the scene by refracting and reflecting light off the surface of the water as well as the dew/droplets on the leaves.
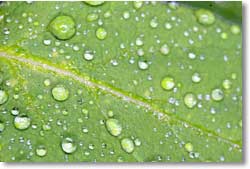
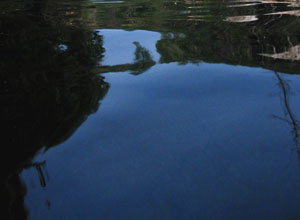
2. Bump Mapping: I plan on using subtle bump mapping to simulate the surface of the water. This could also be applied to the leaves of the plant to make the veins more apparent.
3. Light Shafts/God Rays: I hope to use Light Shafts (although I am not what the correct technique is) to model light rays coming down through the leaves onto the surface of the water. I believe this will be the most difficult part of the project but I think I can do it.
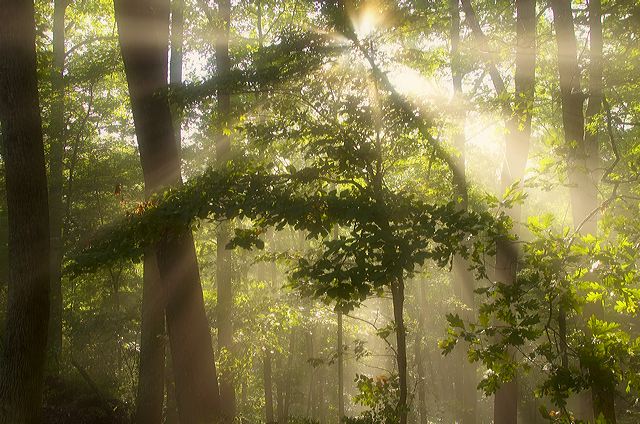
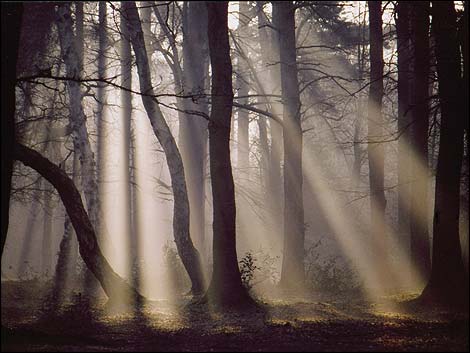
4. Photon Mapping: If I have time I would like to do photon mapping to the underwater part of the scene. It would be nice to be able to model the perturbing light on the bottom of the shallow waterbed. I am not sure how necessary this is as it might be a lot of work for a small result given the nature of the scene.
Approach
In order to tackle this project, I first plan on creating a scene file that places the plant model in the correct position relative to the camera. I figure if I start from the ground up I will be able to make sure everything is working and looking right before moving to the next step. Therefore the next logical step would be to add the water. I would tweak the height until I had the desired environment to showcase some effects (a leaf or two half way in the water, for example). I would implement refraction/reflection for the water (and for spheres, for when I add the droplets later). Once these are implemented I would add slight bump mapping to the surface of the water and to the surface of the leaves. Finally I would tackle the Light Shafts to create the rays of light coming through the leaves and hitting the water. This one will be difficult so I am saving it for last. I will then add the required environment map to give good water reflections and the right environmental feel. If I have time I will add some simple photon mapping to the water and make the surface lighter so that the bottom can be seen.
Other Images
Plant/Leaf Models
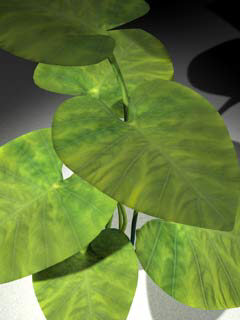
I am hoping to use this model for my plant.
Links
Light Shafts: http://ati.amd.com/developer/gdc/Mitchell_LightShafts.pdf