Differences between revisions 25 and 26
| Deletions are marked like this. | Additions are marked like this. |
| Line 10: | Line 10: |
| attachment:hoover-hi-res.PNG | |
| Line 11: | Line 12: |
| [attachment:hoover-hi-res.tif attachment:hoover-hi-res.PNG] | [attachment:hoover-hi-res.tif tif version here] |
Realistic Camera - Lens Flares
The original project proposal can be found at JulienChaumond/FinalProjectProposal.
My idea was to extend the realistic camera model in order to simulate some of the interesting lens-internals related phenomenas in real cameras: lens flares and scattering around the sun.
Final Image
Motivations
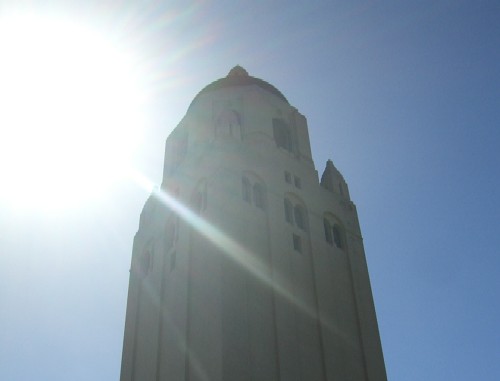
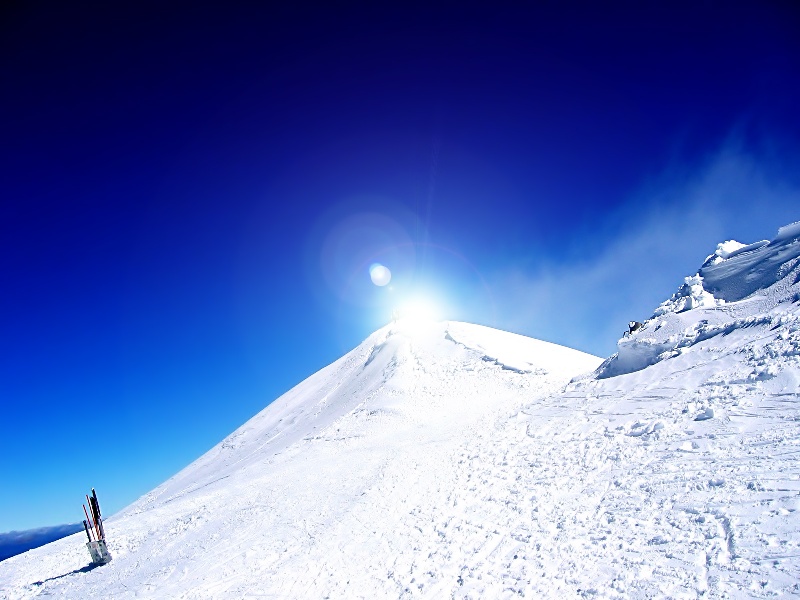
Sources of inspiration for this project included:

Fresnel Equations
The first step of the project was to think about which physical phenomenas are at stake.
Intuitively:
- Circles and spots of light on the picture are due to the light "going back and forth" (reflections) between the lenses and at the aperture.
- Spikes of light in priviledged directions are most likely due to diffraction on the camera sensor (grid-shaped on a digital camera) and/or at the aperture diaphragm.
- The glow around the light sources (I'm not speaking of any atmopheric effect here) is due to the scattering of intense light in the glass material of the lenses.
To implement 1. and 3. I needed to extend the realistic camera model. We have to consider rays that are reflected on some lenses in addition to rays that are only refracted through them.

The physical equations that govern the repartition of light at an interface between two different materials are the Fresnel equations. They can be derived from the Maxwell equations that more generally govern the propagation of electromagnetic waves in a material.
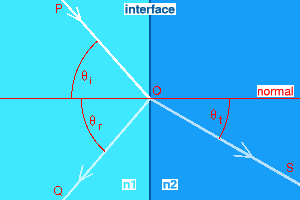


The Fresnel equations give the percentage R of light that is reflected at an interface, depending on Snell's angles θi and θt and the two materials' indices of refraction n1 and n2. There are two equations, depending on whether the incident light is polarised in the plane of incidence of perpendicular to this plane. For unpolarised light - we'll assume the photographer doesn't use any polarizing filter here - R is simply the average of the two terms Rs and Rp.
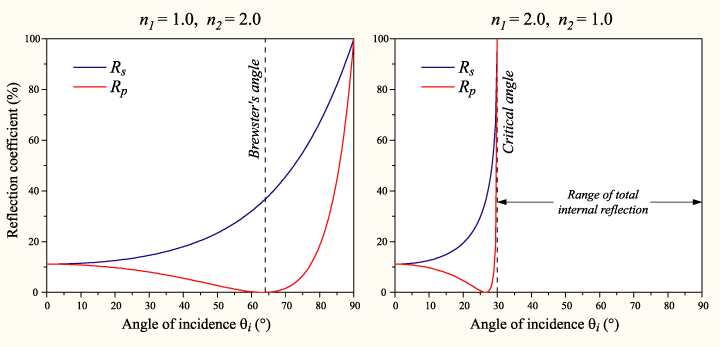
Let's have a look at the values of R depending on the parameters. As we can see, the reflection coefficient R increases faster - and is equal to 1 for a long range of angles (total internal reflection) when the light goes from a material with larger index of refraction to a material with smaller index of refraction.
In our case, this means that the reflections are more frequent outside the lenses than inside them - which is somewhat counterintuitive.
An example of a ray that's reflected 4 times in its way through the camera can be seen below:
The way I implemented this is probalistically: at each interface, I compute the reflection coefficient R. I then randomly decide whether the ray's reflected or refracted according to this value. It's equivalent to actually splitting each ray at each interface and weighing them by R or (1-R), but it is easier to implement this way.
Below is an example of a ray that is split at randomly chosen interfaces.
Light Ray Tracing
This first approach gives us some lens flares, but it introduces a lot of noise. The image below has been rendered using 2048 samples per pixel and is still very noisy. The reasons for that is that:
- The probability that a ray is refracted at a given interface is typically small (around 5%) and not all interfaces contribute equally to the lens flare (as we'll see later on).
- Most importantly, the light source is small so the probability that a random ray going from the front lens into the scene hits it is small. The rest of the scene is very dark compared to the sun so doesn't contribute to the image much.
The solution to that problem is to shoot ray from the light source to the camera instead of shooting them from the camera out into the scene. A light ray tracing integrator is not included in pbrt so we have to tweak the existing code a bit. The result is that the obtained image is way less noisy. The image on the right below has been rendered using "only" 1024 samples per pixel, however it's way less noisy than the image on the left.
In the rest of the project, I used both path tracing and light ray tracing. Roughly half of the rays were shot from the camera and half were shot from the light source.
Mie Scattering
An important part of the feeling of realism when rendering a bright light source such as the sun is the glow around it. I implemented a simple model (based on Mie scattering) for the scattering of light inside the glass.

The probability that a ray is deviated from its direction by an angle θ is proportional to 5/8 (1+cos²θ) + cosθ. My model simplifies this by assuming that the rays' changes of directions only occur at the interfaces, which is of course false, but which gives a pleasing result:
Building the scene
I got the Hoover Tower model from Patricia (Sha Sha) Chu and Darren Lewis who used it in their entry to the 2003 rendering competition: Rendering Realistic Night Skies, and slightly improved it. It was then converted to the pbrt scene file format using the maya-pbrt plugin.

To light the scene, in addition to the sun, I used an environment light with the skylight-blue.exr light probe.
Finally, I used the realistic camera autofocus algorithm to find the desired distance between the lenses and the film plane.
Experiments
Influence of the position of the sun
The position of the sun in the scene is important because it affects the shape of the flares, as we can see in the following images:
Shape of the aperture diaphragm
A minor extension I implemented was to model the shape of the diaphragm (aperture blades) which is said to cause artifacts of the same shape on the picture.
Most diaphragms are polygon-shaped. For example, the lens on the picture has a heptagon-shaped diaphragm. For simplicity of implementation I modeled an octagon-shaped diaphragm. 
However it didn't turn out to make any difference in the obtained images. I should probably have tried with smaller aperture diamterers.
Background cloud texture
I initially wanted to use a cloudy sky as a texture for the background, however it looked kind of funny so I ended up not using it.
Conclusion
I would have liked to try and find a simple model for diffraction on the sensor and at the diaphragm, in order to obtain spikes of light around the sun.
Another thing I would have liked to implement was the wavelength dependency of both Snell's law and the scattering. It would be very straightforward to implement this dependency if only we could sample the wavelengths of the light that's conveyed on a given ray and then modify several points on the image from a single sample ray, but this would imply modifying lots of code throughout pbrt.
However it is nice to obtain lens flares that, if not as dramatic as the "empirical" ones used in Photoshop or videogames, are more physically realistic.
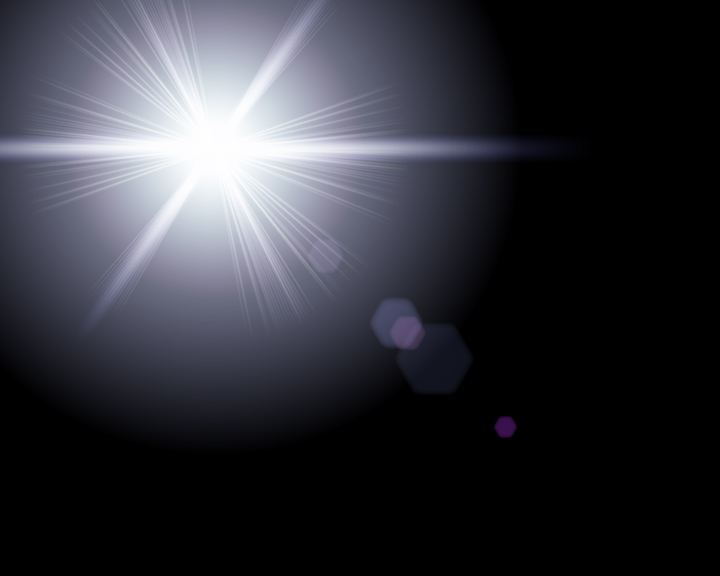
An example of an "empirical" lens flare effect as seen in videogames.
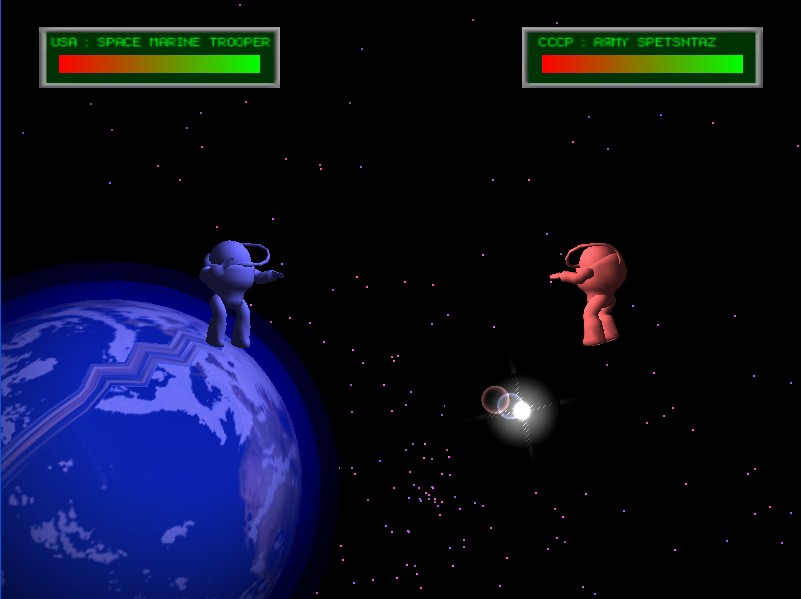
A very cheap-looking lens flare off my cs248 videogame. ![]()
References
A Realistic Camera Model for Computer Graphics - http://www.graphics.stanford.edu/papers/camera/
Understanding Lens Flare in Photography - http://www.cambridgeincolour.com/tutorials/lens-flare.htm
Mie Scattering: http://fr.wikipedia.org/wiki/Th%C3%A9orie_de_Mie#Formalisme (in French)