Assignment 3 Camera Simulation
Yi Lang Mok
Date submitted: 10 May 2006
Code emailed: 10 May 2006
Compound Lens Simulator
Description of implementation approach and comments
Initializing the system only required reading in the lens file. I made a modification to how I stored lenses: instead of storing the position where the lens crosses the axis, I stored the radius and the centroid of the sphere. This way, I could perform ray/sphere intersections easily. I also stored the absolute distance that each lens is at.
There are two steps in implementing GenerateRay: propagating a ray into image space, and calculating the exposure due to the ray.
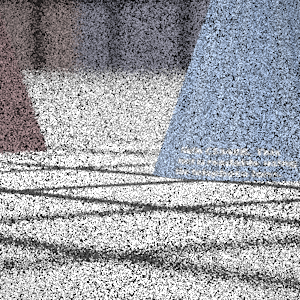
* Propagating a ray into image space. I start off with translating and scaling the sample so that I get a ray that starts from the film and points towards the first lens. Then, I propagate the ray by using Snell's law at each interface in sequence. I originally attempted to rotate the surface normal so that it would point in the resulting direction. This required calculating the cross product of the source ray and the normal, and then a transfomation around that axis. Unfortunately, the images generated were too fuzzy: the result of numerical inaccuracy. However, it is possible to make out the general shapes. The second method that I attempted took an algorithm off Wikipedia. It suffered from very little numerical inaccuracy, producing images which are comparable to the reference images. At each step of the propagation, I make sure to check if the ray actually passes through the aperture of the lens.
* Exposure of the ray. I made use of the exposure equation in the paper, setting the area to be the area of the aperture of the lens closest to the film. The cosine is reduced to a dot product since it is the dot product of the ray with the normal to the film.
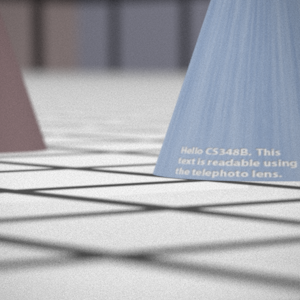
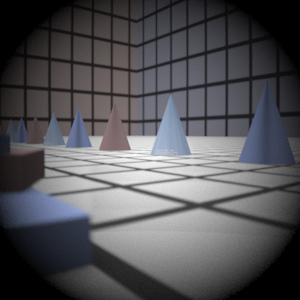
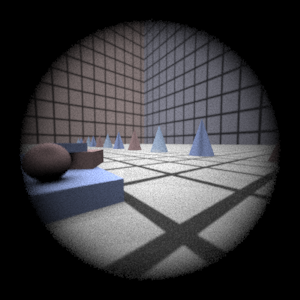
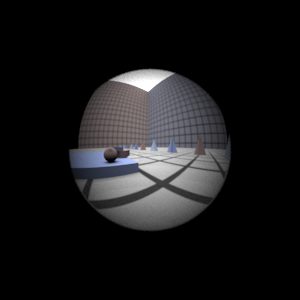
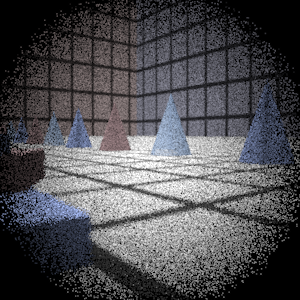
Final Images Rendered with 512 samples per pixel
|
My Implementation |
Reference |
Telephoto |
|
|
Double Gausss |
|
|
Wide Angle |
|
|
Fisheye |
|
|
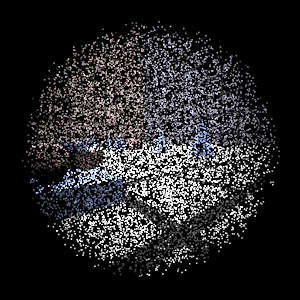
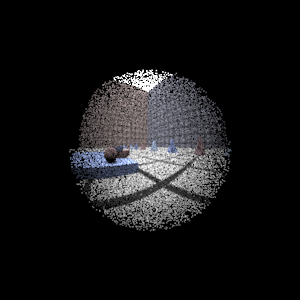
Final Images Rendered with 4 samples per pixel
|
My Implementation |
Reference |
Telephoto |
|
|
Double Gausss |
|
|
Wide Angle |
|
|
Fisheye |
|
|
Experiment with Exposure
Image with aperture full open |
Image with half radius aperture |
|
|
Observation and Explanation
As expected, the image with half the aperture is darker. This is because fewer rays make it through the aperture. As a result of the discrete ray tracing, the image is also much noisier. The image has a larger depth of field however, because the smaller aperture reduces the size of the circles of confusion.
Autofocus Simulation
Description of implementation approach and comments
I implemented the SML algorithm in Nayar's paper. In the autofocus zone, I picked a random 7x7 square and rendered it using the sampler and the camera. Then, I reduced it to a 5x5 of focus measures as calculated using the discrete modified Laplacian operator. Then, I found took the sum as the focus measure.
My algorithm for finding the focus depth is very simple. Since the measure is very sensitive to noise (in fact, noise makes it seem like it is focused!), a bisection or golden section search would not be effective: the focus measure function may have many local maxima. Instead, I find the focus measure at varying levels of accuracy: every 10.0mm, every 1.0mm and finally every 0.1mm. The first iteration reduces the search to a 20mm region; the second iteration reduces the search to a 2mm region, and the last iteration gives a focus depth of 0.1mm accuracy.
As stated above, noise can affect the measure greatly. Initially, one problem I had was that with film distances that were small (<10mm), the noise would be so great that the focus measure would think the depth was in the region. I tried three methods to mitigate this:
* The first was just to set the sampling rate very high (1024 rays per pixel), but this was prohibitively slow. It did however, generate accurate results.
* Then I tried to normalize the focus measure by dividing by a (1/sqrt(dist) + 1). This would bias the focus measure towards further film distances. However, this was still not enough to bring down the focus measure due to noise at close distances. Also, I could not justify whether my scaling factor is proportional to the erronous score generated by noise.
* Finally, I decided to have a variable sampling rate. Distances close to the lens would be sampled at a much higher rate than far distances. To be exact, I would perform (8192 / dist) samples. This value was found through trial and error: at 8mm, it will sample 1024 rays; at 32mm, it will sample 256 rays, etc. Even though at certain intervals, very high number of rays would be generated, it is still faster than the first method.
I made graphs of the focus measures produced by running each scene. There are many more points near the actual depth because of the three-iteration approach taken above.


Final Images Rendered with 512 samples per pixel
|
Adjusted film distance |
My Implementation |
Reference |
Double Gausss 1 |
62.5 mm |
|
|
Double Gausss 2 |
39.2 mm |
|
|
Telephoto |
116.5 mm |
|
|
Additional
After scanning through some of the submissions of my classmates, I noticed that there were images with striped segments and with black patches. This is because exrtotiff is converting some pixels (possibly NaN pixels) into transparent pixels, which are then converted to black when converting to jpg. I have the same problem since I don't have a native exr to jpg converter (in Linux). Thus, I created a simple script that grabs all the exr images in a folder, opens them in exrdisplay, captures a screenshot, then outputs them as jpg's. The script can be found here. If anyone can tell me how to crop images (so that the sliders are not visible), please tell me!

